Best Presentation Annotation Tool for Teachers and Trainers
Teaching online is different from teaching in a classroom, and most of that difference comes down to one thing: you cannot walk up to the board and point. In a physical room, you gesture, you tap the whiteboard, you physically stand next to the thing you are explaining. On a video call, you have a cursor. And a cursor is not enough.
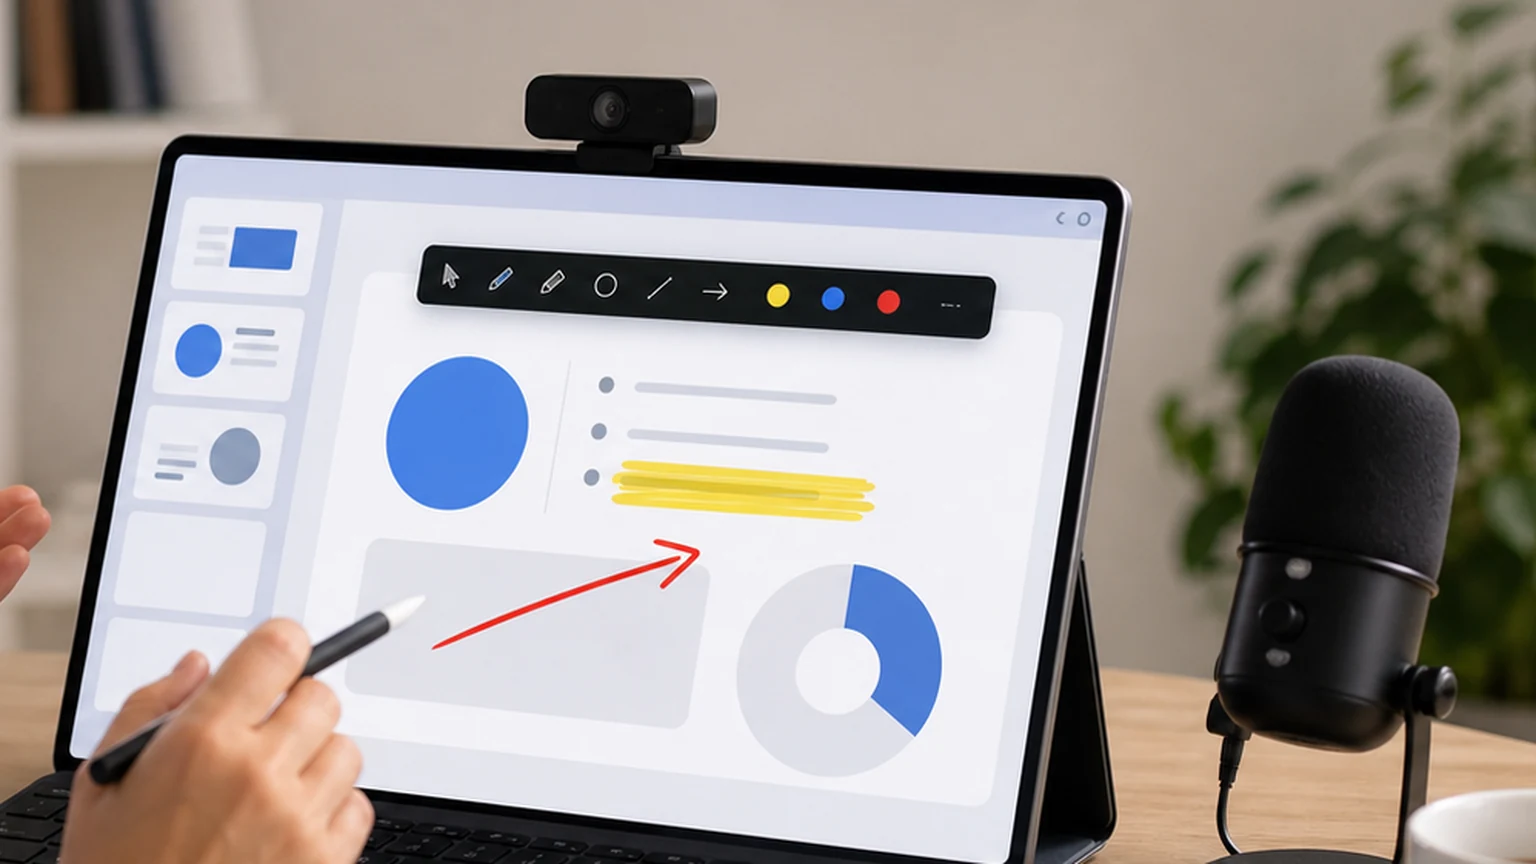
A presentation annotation tool gives you back that ability to point, circle, and highlight while you present. It sits on top of your screen like a transparent sheet of glass, and you draw on it while your audience watches. For teachers and trainers, this changes how effectively a lesson lands.
This guide explains what makes a good presentation annotation tool, how to use one during real teaching scenarios, and why Penslide is built for exactly this kind of work.
Why Teachers Need More Than Slides
Slides are static. You build them before the lesson, and they show the same content every time. That is fine for the planned parts of your presentation. But teaching is not entirely planned. Questions come up. Students get stuck on unexpected details. You need to improvise.
When a student asks "which part of this diagram connects to the output?" you cannot click a slide animation to answer that. You need to draw a line. Right now. On the screen. While everyone watches.
That spontaneous visual explanation is what separates a good online lesson from a confusing one. A presentation annotation tool makes it possible without leaving your slideshow, opening a separate whiteboard, or fumbling with a different app.
The Problem With Built In Slide Annotation
PowerPoint and Google Slides both have pen and highlighter tools built into their presentation modes. These work, but they come with a significant limitation: they only function inside the slideshow.
If you switch to a browser to show a live demo, the pen disappears. If you open a spreadsheet to explain real numbers, the highlighter is gone. If you pull up a PDF or a code editor, you are back to cursor waving.
A standalone annotation tool works across your entire desktop. It does not matter what app is in the foreground. You draw on whatever is visible. That flexibility is essential for any teacher who does more than read slides.
What a Good Presentation Annotation Tool Looks Like
Teachers and trainers have specific needs that differ from general annotation users. Here is what matters most when you are running a live lesson.
Minimal Distraction
The tool should not compete with your content for attention. A giant toolbar with fifty icons is distracting for students. A small, collapsible toolbar that stays at the screen edge is ideal. Penslide is designed this way; the toolbar is compact enough that students barely notice it.
One Click to Start Drawing
During a lesson, every second counts. If activating the annotation tool requires clicking through menus, selecting modes, and confirming dialogs, you lose the moment. The best tools let you click one button and start drawing immediately.
Visible but Not Overwhelming Marks
Your annotation should be visible enough to guide attention but not so thick that it obscures the content underneath. A good pen width and a proper highlighter opacity make a real difference. You want students to see both your mark and the content it points to.
Quick Clear
After you finish explaining one point, you need to clear the screen before moving to the next slide or topic. Leftover marks from a previous explanation confuse students. A one click clear function is not optional; it is essential.
How Teachers Actually Use Annotation in Lessons
The real test of any tool is whether it fits into an actual teaching workflow. Here are specific scenarios where annotation changes the quality of the lesson.
Guiding Attention on a Busy Slide
Some slides have a lot of content: bullet points, diagrams, numbers, labels. When you advance to a dense slide, students do not know where to look first. By circling one specific item or underlining a key phrase, you direct their eyes before their attention wanders.
This is particularly valuable for math and science teachers. A diagram with ten labeled parts becomes manageable when you highlight one part at a time and walk through each label verbally.
Comparing Two Items on Screen
When you show two code snippets, two versions of a paragraph, or two images side by side, drawing a line between the differences makes the comparison concrete. Students see the connection instead of scanning both items and guessing what changed.
Answering Questions Visually
A student asks a question about a specific part of the material. Instead of repeating the slide content in different words, you draw on the exact part they are asking about. You circle it, draw an arrow from it to the answer, or write a quick note. The visual response is faster and more precise than a verbal explanation alone.
Live Demo Annotation
If your lesson includes a live demonstration of software, a website, or any interactive tool, annotation becomes indispensable. You open the application, walk through the steps, and circle or highlight each element as you explain it. Students follow a visual path through the interface instead of trying to match your verbal instructions to what they see on screen.
This works especially well for computer science teachers, business software trainers, and anyone who teaches tools. The screen drawing app guide covers more tutorial specific workflows.
Using Penslide for Presentation Annotation
Penslide was designed with this workflow in mind. Here is how it fits into a typical teaching session.
Before your lesson, download the app from the download page if you have not already. Place the file somewhere easy to find. There is no installation process.
When your lesson starts, open Penslide. The toolbar appears at the edge of your screen. It stays on top of all other windows, including your slide deck, browser, and any other app.
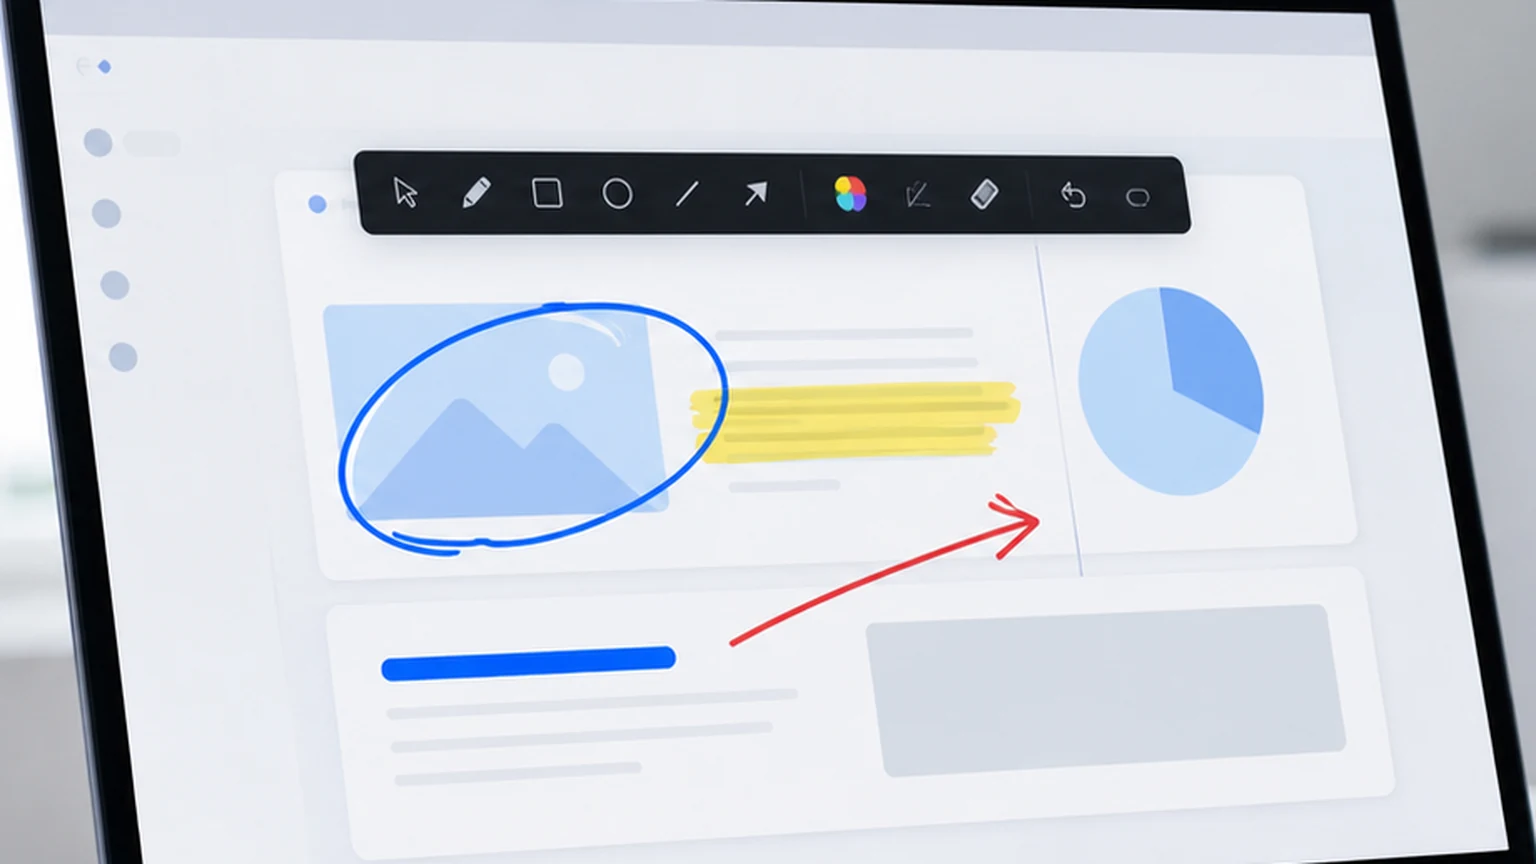
As you present, click the pen or highlighter to annotate. Draw circles, underline phrases, add arrows, or highlight sections. When you advance to a new slide or switch topics, clear the annotations and start fresh.
At the end of the lesson, close or collapse the toolbar. Your screen returns to normal. If you want to save any annotated view, use the built in screenshot feature before clearing.
Annotation Habits That Improve Teaching
Having the tool is step one. Using it effectively is step two. These habits come from watching how experienced online teachers use annotation.
Annotate After You Speak, Not Before
Start your explanation verbally, then add the visual mark. This creates a reveal moment that draws attention. If you annotate before you explain, students read your mark and stop listening.
Use One Color Per Concept
If you are explaining three related ideas, assign each one a color. Students learn to associate the color with the concept, which helps when you reference it later. Keep the palette to two or three colors maximum.
Do Not Annotate Everything
If every slide is covered in marks, annotation loses its power. Reserve it for the moments that need emphasis. A clean slide with one circle has more impact than a slide covered in highlights.
Clear Before Advancing
Always clear your annotations before moving to the next slide. Marks from the previous slide that bleed into the next one are confusing and make the presentation look disorganized.
How Penslide Compares to Other Presentation Tools
There are several options in this space. Some are built for general annotation, and some are designed specifically for presentations.
ZoomIt from Microsoft is popular among presenters. It combines zoom, annotation, and a countdown timer. The zoom feature is unique and useful, but the annotation controls are keyboard driven, which some teachers find less intuitive than a visual toolbar. See the ZoomIt alternative comparison for a detailed look.
Epic Pen has a free tier with basic drawing. It works, but the free version limits some features and the interface carries more visual weight than necessary. For teachers who want a cleaner experience, the Epic Pen alternative guide explains the tradeoffs.
Penslide sits in the middle. It is lighter than Epic Pen, more visual than ZoomIt, and completely free with no feature restrictions. For teachers and trainers who want to annotate without thinking about the tool itself, it is a practical fit.
Working Across Multiple Apps During a Lesson
This is where standalone annotation tools shine. A typical online lesson might include slides, a browser, a video, and a document. Moving between these apps is normal. Losing your annotation tool every time you switch is not.
Penslide stays on top of all windows. When you switch from PowerPoint to Chrome, the toolbar and the drawing layer follow. You annotate the slide, switch to the browser, annotate the web page, and switch to a PDF. One tool covers everything.
For teachers who teach multiple subjects or use varied materials, this cross app support is not a nice to have. It is the reason to use a standalone annotation tool instead of relying on built in slide features. Learn more about how online teachers structure their tools in the presentation tools for teachers guide.
FAQ
Does Penslide work with PowerPoint and Google Slides?
Yes. Penslide draws on top of any application, including PowerPoint, Google Slides, Keynote in a browser, or any other presentation software. It is not tied to a specific app.
Can students see my annotations during a video call?
They can. Because Penslide draws on your desktop, everything you annotate shows up in your screen share on Zoom, Teams, Google Meet, or any other video call platform.
Is there a way to save an annotated slide?
Penslide includes a screenshot feature that captures your screen with annotations visible. You can save the image for sharing with students after the lesson or for your own records.
Can I use a presentation annotation tool on a tablet or touchscreen laptop?
Penslide is designed for Windows desktops and laptops. It works with a mouse, trackpad, or stylus on a touchscreen device. If your Windows tablet supports pen input, the drawing will feel natural.
Conclusion
Teaching online without annotation is like teaching in a classroom without a whiteboard marker. You can do it, but you are working harder than you need to, and your students are following less of what you say.
A presentation annotation tool gives you back the ability to point, circle, highlight, and draw while you teach. Penslide makes that available in a portable, free, and lightweight package that works across every app on your Windows desktop.
If your lessons involve any amount of screen sharing, this is a tool that belongs in your teaching setup. Not because it is fancy, but because it solves the most basic problem of online teaching: showing people exactly what you mean.
Get Started
Download Penslide from the download page and test it before your next lesson. Visit the homepage for a full overview, or explore the feature list to see what tools are available in the toolbar. Read the screen highlighting guide for tips on using the highlighter effectively during meetings.
Use Penslide with the next screen share
Open Penslide, point to the part of your screen you need, and draw in a way that keeps the audience on the same page. It works with slide decks, browser windows, and shared apps.