Why More People Are Using Screen Drawing Apps for Tutorials
Five years ago, most people had never heard of a screen drawing app. If you needed to explain something on your computer, you talked through it, maybe moved your cursor around, and hoped the other person could follow along. That approach sort of worked when screen sharing was occasional.
Now screen sharing is constant. Meetings, training sessions, support calls, onboarding walkthroughs, product demos. Every one of these involves someone staring at a screen while someone else tries to explain what they are looking at. And suddenly, the ability to draw on that screen is not a novelty; it is a basic communication tool.
This guide looks at why screen drawing apps have become standard for tutorials and training, what features matter, and how Penslide fits into that workflow on Windows.
What Changed to Make Screen Drawing Apps Useful
The shift happened when remote work stopped being an exception and became the default. Before 2020, most teams met in conference rooms. You could point at a projector screen, hand someone a printed document, or draw on a physical whiteboard. Those physical tools handled the "show what I mean" problem naturally.
Remote work removed all of them. Video calls replaced conference rooms. Screen sharing replaced projectors. And suddenly, people needed a digital equivalent of pointing at the board. Screen drawing apps filled that gap.
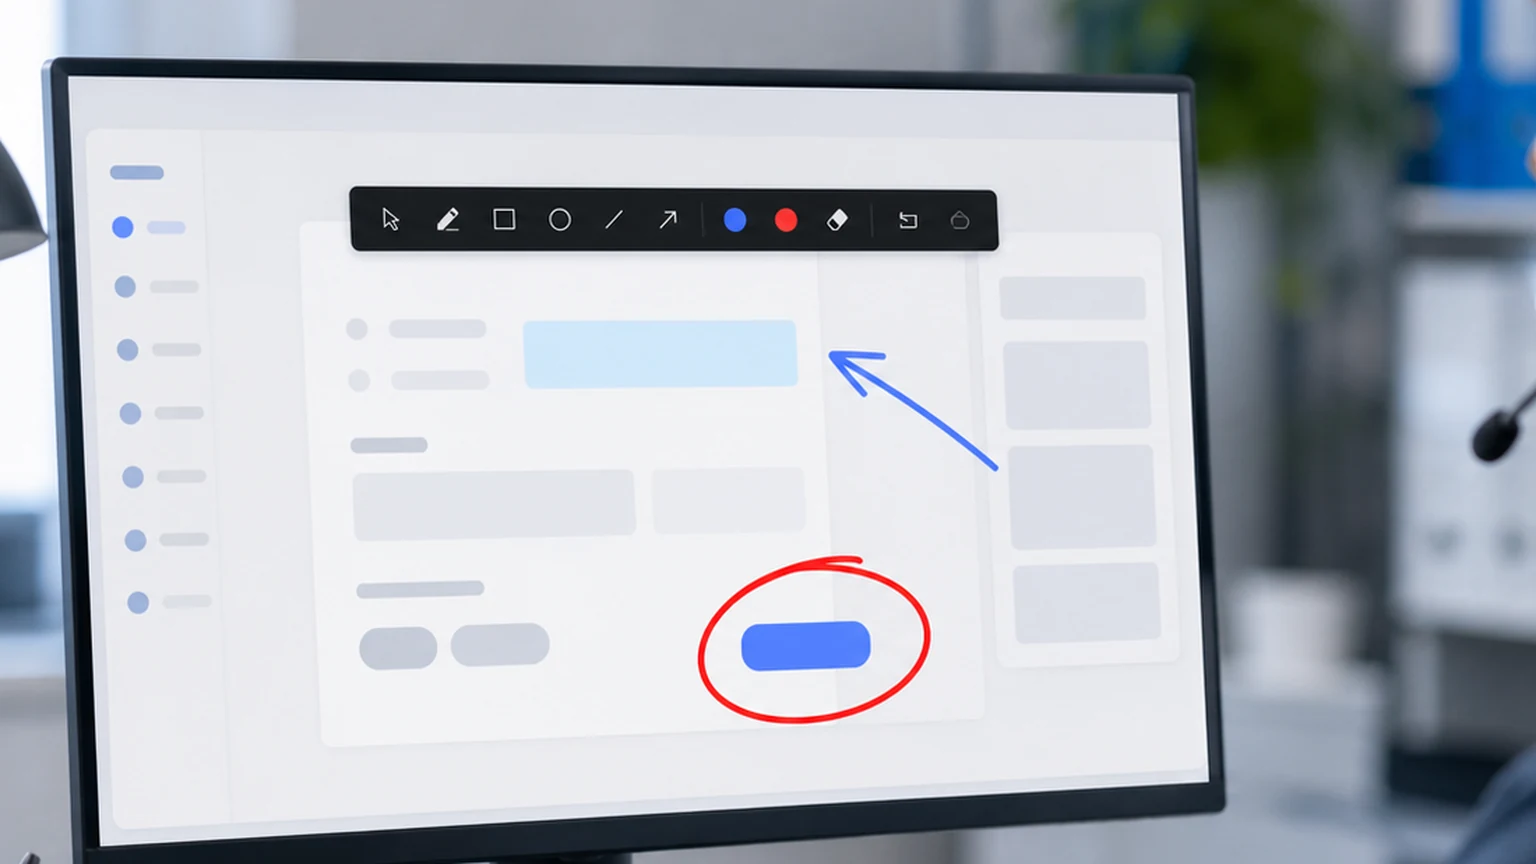
The tools themselves are not complicated. They create a transparent layer over your desktop and let you draw on it. But the impact on communication is significant. A single circle around a button saves thirty seconds of verbal description. A highlighted paragraph keeps ten people focused on the same sentence. An arrow connecting two sections makes a relationship visible that words alone cannot convey.
Why Tutorials Benefit the Most
Screen drawing apps help in meetings and presentations, but they are most valuable in tutorials. The reason is simple: tutorials are instruction dense. Every sentence describes a step, a click, or a concept. The viewer needs to match each instruction to something on the screen. Without visual cues, they get lost.
Step by Step Instruction
A tutorial that says "click the Settings icon in the top right corner" is clearer when the instructor circles the Settings icon on screen. The viewer does not need to scan the entire interface to find it. They look at the circle and click. Done.
Multiply that by twenty steps in a typical tutorial, and the time savings add up. Each visual cue shaves a few seconds off the step, and the viewer makes fewer mistakes. The tutorial flows instead of stuttering through "no, the other button" corrections.
Showing Relationships
Some tutorials explain how parts of a system connect. A database field maps to a form input. A config setting controls a behavior. A code function calls another function. Drawing a line between these elements on screen makes the relationship visible instantly. Verbal explanations of connections ("the value in cell B3 gets passed to the function in line 42") are hard to follow. A visual line is not.
Highlighting Warnings and Gotchas
Every good tutorial includes moments where the instructor says "be careful here" or "do not click this." Those warnings land better when you highlight the danger zone in red. The viewer sees the visual emphasis and registers the warning at a gut level, not just an intellectual one.
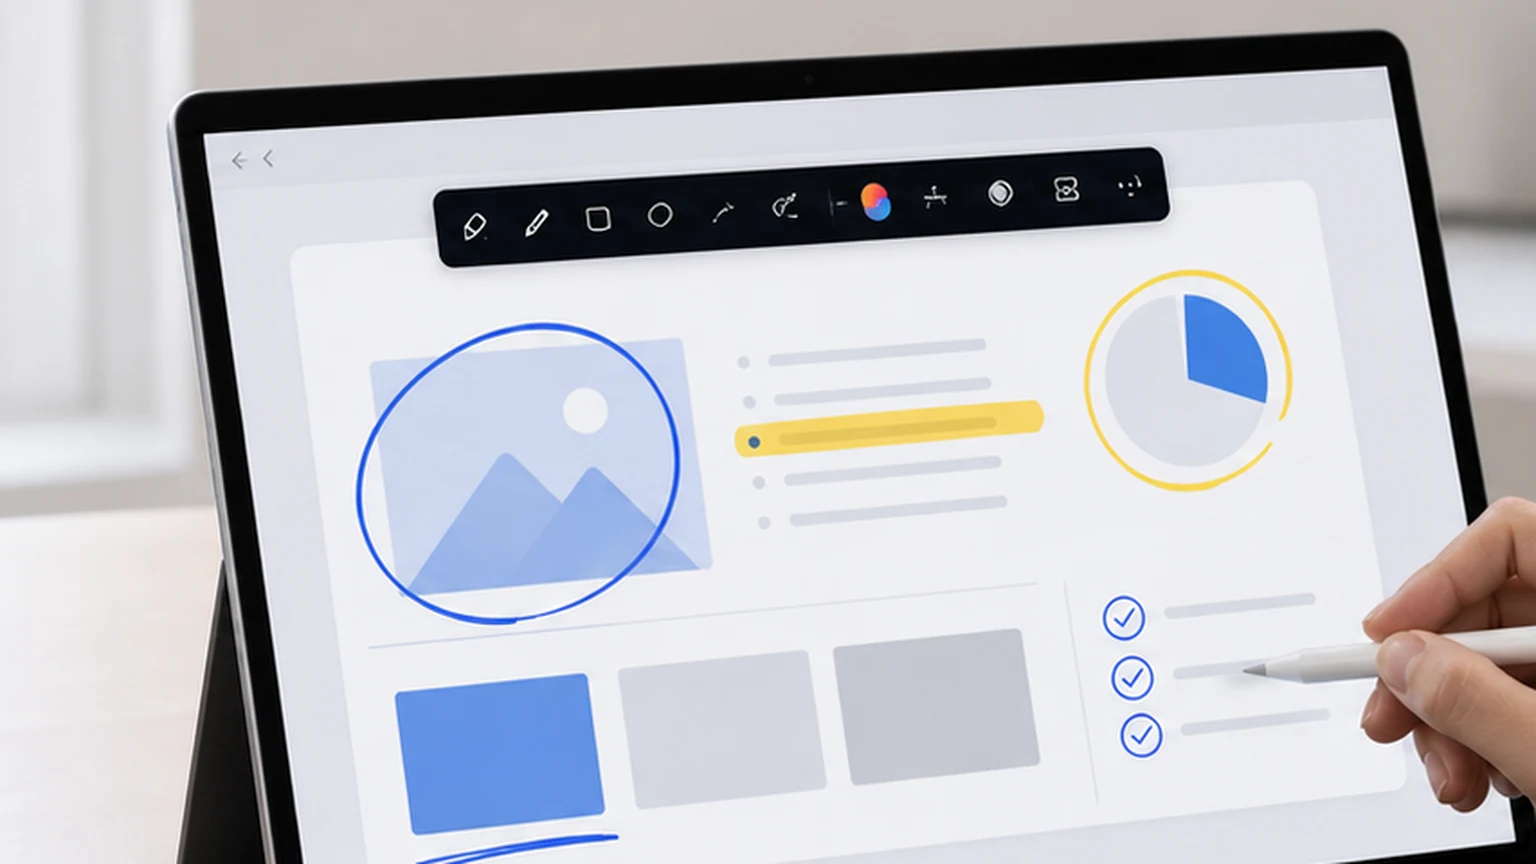
What Features Matter in a Screen Drawing App
Not every screen drawing app is suitable for tutorials. Some are designed for design mockups. Others are built for whiteboard brainstorming. The features that matter for tutorial work are specific.
Transparent Overlay
The drawing surface must be transparent. You are drawing on top of existing content, not on a blank canvas. If the tool opens a separate window or changes your screen layout, it defeats the purpose.
Freehand Drawing
Tutorials require ad hoc marks: circles around buttons, underlines beneath text, arrows between sections. Rigid shape tools are less useful than a smooth freehand pen. The best apps offer both, but freehand should be the default.
Highlighter Mode
A semi transparent highlight is ideal for marking text, table rows, or paragraphs. The content remains readable through the highlight, and the viewer knows exactly which part you are referencing. This is different from a solid color pen, which covers the underlying content.
Quick Undo and Clear
Tutorials move fast. You annotate one step, explain it, and move to the next. If clearing the previous annotations requires multiple clicks or navigating a menu, the flow breaks. A single key press for undo and a one click clear are minimum requirements.
Minimal Interface
The screen is your content. The drawing tool should take up as little space as possible. A small floating toolbar works. A full application window with menus, ribbons, and sidebars does not. Penslide uses a compact toolbar that stays at the edge of the screen and collapses when you do not need it.
How to Use a Screen Drawing App in a Tutorial
Here is a practical workflow for creating or delivering a tutorial with screen annotation. This assumes you are screen sharing during a live session, but the same approach works for recorded tutorials.
Set Up Before You Start
Open the app you are going to demonstrate. Then open your screen drawing tool. Position the toolbar where it will not overlap with the main content. In Penslide, the toolbar docks to the edge of the screen, so it stays out of the way by default.
Narrate and Annotate Together
As you explain each step, draw on the screen to reinforce the instruction. Say "click the Export button" and circle the Export button at the same time. The verbal and visual cues together are more effective than either one alone.
Clear Between Steps
After each step, clear your annotations. Leftover marks from a previous step confuse the viewer when they look at the current step. A clean screen with one fresh annotation per step is the goal.
Use the Highlighter for Text
When your tutorial involves reading text on screen, labels, error messages, config values, or code comments, use the highlighter instead of the pen. Highlighting preserves readability while adding emphasis. The pen works better for shapes like circles and arrows.
Save Key Moments
If a particular annotation captures an important step, take a screenshot before clearing. These annotated screenshots make excellent reference images for written documentation or follow up emails. Penslide includes a snip feature that lets you capture a specific area of the screen with your marks visible.
Common Mistakes When Using Screen Drawing Apps
Screen annotation is straightforward, but there are a few habits that undermine its effectiveness.
Over Annotating
When every element on the screen is circled, highlighted, or arrowed, nothing stands out. Annotation works by contrast. One mark on a clean screen draws the eye. Ten marks on a cluttered screen create noise.
Using Too Many Colors
Color is a tool for categorization, not decoration. If you use red for one thing, blue for another, and green for a third, the viewer has to decode the color scheme while also following the tutorial. Stick to one or two colors unless you have a specific reason to use more.
Forgetting to Clear
This is the most common mistake. The instructor annotates a step, moves to the next step, and the old marks are still on screen. The viewer sees a mix of current and past annotations and loses track of which marks belong to which explanation.
Drawing Too Quickly
Fast scribbles look messy on a shared screen. Slowing down your hand by just a fraction produces cleaner circles, straighter lines, and more readable marks. The difference is noticeable, especially on high resolution displays.
Who Is Using Screen Drawing Apps for Tutorials
The user base is broader than you might assume. Here are the groups that benefit the most.
- Teachers who run online classes and need to explain concepts on slides, documents, and live demos.
- IT trainers who onboard employees to new software and need to walk through interfaces step by step.
- Support technicians who troubleshoot issues on a customer's shared screen and need to point to specific settings. See the remote support annotation guide for this use case.
- Content creators who record screen tutorials and want clean visual emphasis without editing each frame in post production.
- Sales engineers who demo products and want to highlight features during a live call.
In each case, the core need is the same. Someone is explaining something on screen, and they need a way to draw attention to the right part. A screen drawing app handles that with minimal overhead.
Why Penslide Works Well for Tutorials
Penslide is designed for exactly this workflow. It is a Windows app that creates a transparent drawing layer over your desktop, with a small toolbar that stays accessible without blocking your content.
There is no installation process. You download the file from the download page, open it, and start drawing. The tool is portable, so you can keep it on a USB drive or in a shared folder and use it on any Windows machine.
The drawing tools are focused on the basics: freehand pen, highlighter, color selection, undo, and clear. There are no layer panels, shape libraries, or export wizards. Those features belong in design tools. Penslide is a communication tool, and it stays focused on that purpose. Visit the homepage to see the full feature set.
FAQ
Do screen drawing apps work with recorded tutorials?
Yes. If you record your screen while using a drawing app, your annotations appear in the recording. This works with any screen recording software including OBS, Loom, and Camtasia.
Can I use a screen drawing app during a live video call?
You can. The annotations appear on your desktop, which means they show up in your screen share. Participants in Zoom, Teams, Google Meet, or any other video call see your marks in real time.
What is the best screen drawing app for Windows?
For tutorials and live instruction, Penslide is a strong choice. It is free, portable, and designed for quick annotation without the complexity of full featured drawing suites.
Do I need a stylus or drawing tablet?
No. A regular mouse or trackpad works fine for the types of annotation used in tutorials: circles, underlines, arrows, and highlights. A stylus can make freehand drawing smoother, but it is not required.
Conclusion
Screen drawing apps went from niche tools to everyday necessities because remote communication demands visual clarity. Tutorials, in particular, benefit from the ability to draw on screen because they involve constant instruction, step by step guidance, and visual relationships that words alone struggle to convey.
Penslide fits this use case by keeping the interface minimal and the drawing tools focused. It opens fast, stays out of the way, and gives you the annotation basics that make a real difference in how clearly you communicate.
The next time you create or deliver a tutorial, try annotating while you explain. The difference in viewer comprehension is immediate, and it takes almost no extra effort on your part.
Get Started
Download Penslide from the download page and use it in your next tutorial. Check the guide to drawing on screen in Windows for the basics, or read the live screen markup guide for support team workflows.
Use Penslide with the next screen share
Open Penslide, point to the part of your screen you need, and draw in a way that keeps the audience on the same page. It works with slide decks, browser windows, and shared apps.