Best Free Screen Annotation Tool for Windows in 2026
If you have ever been on a video call where someone says "look at the thing in the top right corner" while waving their cursor around, you already know why a free screen annotation tool matters. The cursor is not a pointer. It is a tiny arrow lost in a sea of pixels. And your audience is squinting, guessing, and quietly checking their phone.
Screen annotation solves that problem in the simplest way possible. You draw on the screen. You highlight the sentence. You circle the button. The person on the other end sees exactly what you mean, and the conversation moves forward instead of stalling.
This guide covers what to look for in a free screen annotation tool on Windows, how to use one in real work situations, and why Penslide is a practical choice when you need fast markup without the setup overhead.
What a Free Screen Annotation Tool Actually Does
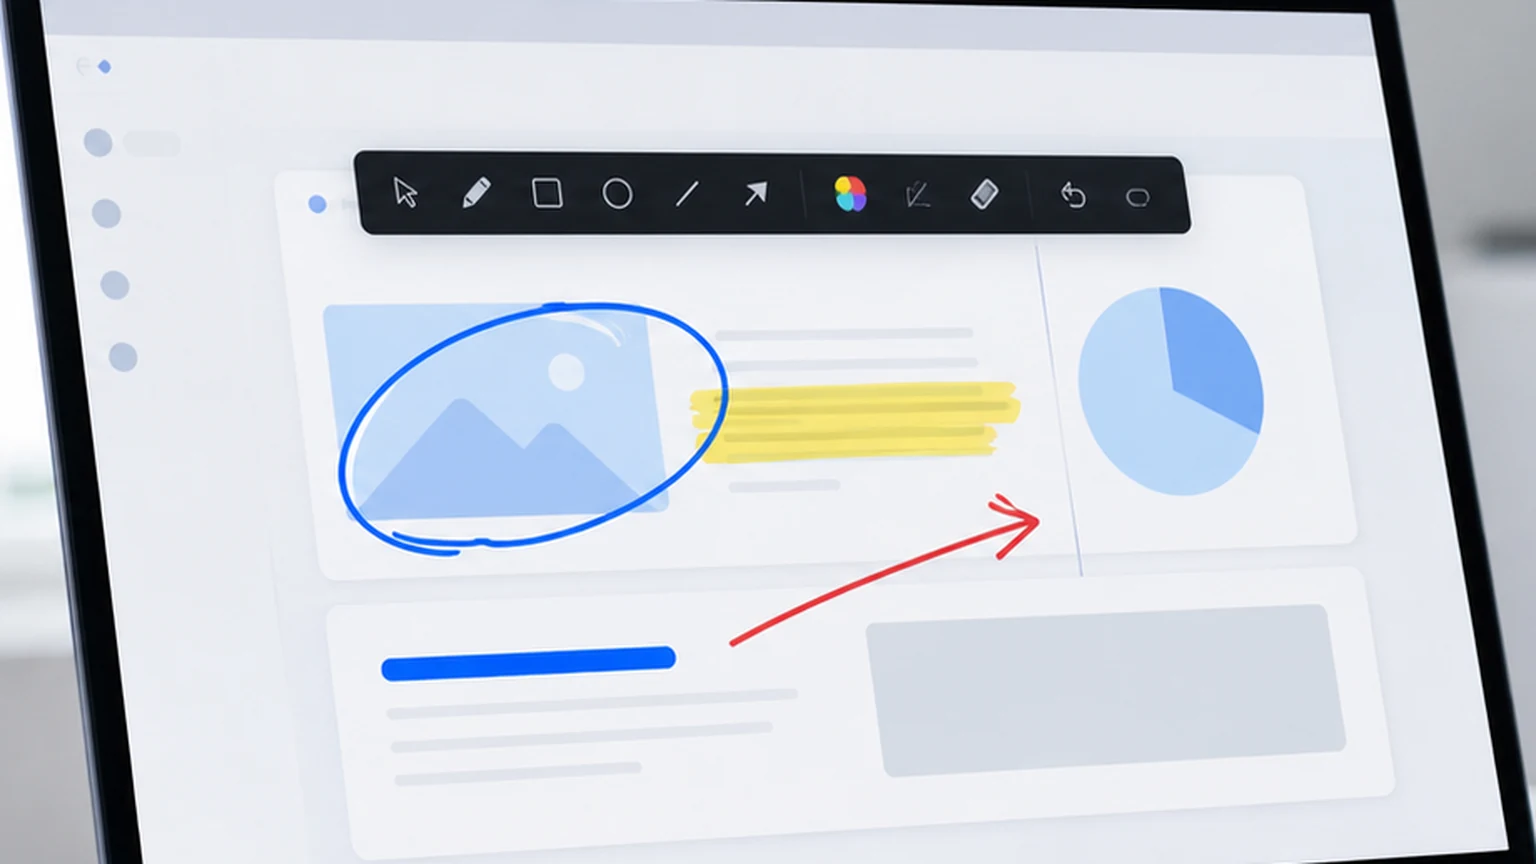
At its core, a screen annotation tool puts a transparent drawing layer over your entire desktop. You can draw lines, highlight text, write notes, or place arrows on top of whatever is already on your screen. The underlying windows, slides, or apps stay exactly where they are.
This is different from opening Paint or a whiteboard. You are not screenshotting and then editing. You are drawing live, on the actual screen, while your audience watches in real time.
That distinction matters because the whole point is speed. In a meeting, you do not have time to take a screenshot, open an editor, draw a circle, save the file, and then share it. By the time you finish, the conversation has moved on. A screen annotation tool keeps you in the moment.
The Difference Between Annotation and Screenshot Editing
Screenshot editors are useful when you want to save a marked up image for later. You capture the screen, add your notes, and send the file in an email or a chat. That workflow works for documentation.
Screen annotation is for live situations. You are presenting, teaching, or walking someone through a process. The marks appear and disappear as you need them. There is no file to save unless you want to capture a snapshot. The focus is on communication, not on creating artifacts.
Why Free Matters More Than You Think
Plenty of annotation tools exist, and some of them cost money. The paid versions usually bundle features like recording, cloud storage, team collaboration, or advanced shape libraries. Those features are great if you need them.
But most people who need to annotate their screen are not looking for a full production suite. They want to circle something, highlight a paragraph, or draw an arrow during a call. That is a five second task, and paying for software to do it feels wrong.
A free tool that handles the basics well is more valuable than a paid tool that handles everything but sits unused because the setup feels like a commitment. The best free screen annotation tool is the one you actually open.
What to Look for in a Free Annotation Tool on Windows
Not all free tools are built the same. Some are stripped down versions of paid products. Others are open source projects with rough interfaces. A few are purpose built for quick annotation. Here is what separates a useful one from a frustrating one.
Fast Startup
The tool should open in under two seconds. If you are mid-presentation and you need to annotate, waiting for an app to load defeats the purpose. Penslide launches from a single executable with no installer, so it is ready the moment you double click.
Small Toolbar
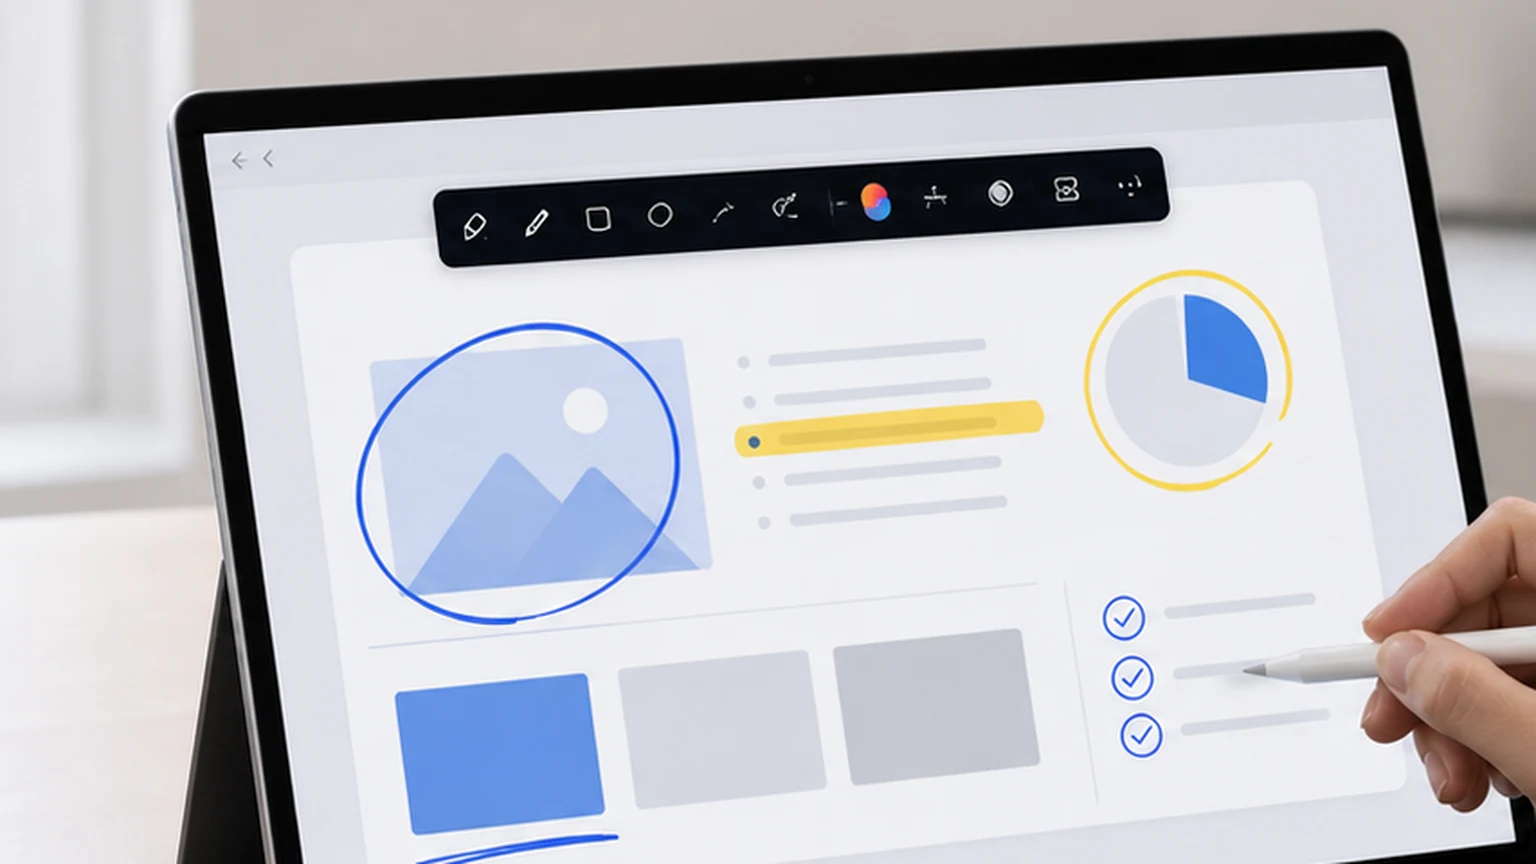
A good annotation tool keeps its controls out of the way. You want a small floating toolbar, not a full window with menus and ribbons. The screen is the main content. The toolbar is just a control strip.
No Admin Rights Required
This one catches people off guard. On work laptops, you often cannot install software without IT approval. A portable annotation tool that runs from a folder, a USB stick, or a download directory is far more practical. You can use it on any Windows machine without waiting for permissions.
Clean Drawing
The pen and highlighter should produce smooth, visible lines. Jagged strokes look unprofessional on a shared screen. Penslide renders clean lines that look intentional, not accidental.
Undo and Clear
Mistakes happen. A quick undo shortcut and a clear all button save you from awkward moments during presentations. If you cannot erase what you just drew, the tool is going to cause more problems than it solves.
Real Use Cases Where Annotation Changes the Conversation
The theory is straightforward. The real value shows up in specific moments. Here are the situations where a free screen annotation tool makes a measurable difference.
Training Sessions
When you walk someone through a new software tool, you need to point to menus, highlight buttons, and draw attention to specific fields. Verbal instructions like "click the third item in the dropdown" are ambiguous. Circling the item on screen removes the ambiguity entirely.
I use this in every training call. Open the software, open Penslide, and start drawing while I explain. The trainee follows along without asking "where?" after every step.
Remote Support Calls
Technical support is faster when you can mark the screen. Instead of saying "go to Settings, then Advanced, then scroll down to the section that says Permissions," you draw a path. Circle Settings. Arrow to Advanced. Highlight the Permissions section. The user follows the visual trail instead of translating your words into clicks.
This is especially useful when you are supporting someone who is not technically confident. Visual cues reduce anxiety and keep the session moving. Check the remote support annotation guide for more on this workflow.
Slide Presentations
PowerPoint and Google Slides have built in annotation, but it only works inside the slideshow mode. If you switch to a browser, a spreadsheet, or a live demo, those tools disappear. A screen annotation tool works over everything, regardless of what app is in the foreground.
That flexibility is why teachers and trainers reach for tools like Penslide. You can annotate a slide, switch to a web page, annotate that too, and switch back. The annotation layer follows you across apps. Learn more in the presentation annotation tool guide.
Code Reviews and Technical Walkthroughs
When reviewing code on a shared screen, circling a function name or underlining a suspicious line communicates faster than reading line numbers out loud. Developers who share their screen during reviews find that simple markup keeps the discussion tighter and shorter.
How to Use Penslide as Your Free Screen Annotation Tool
Penslide is built specifically for the workflow described above. Here is how to get started in under a minute.
- Download the app from the Penslide download page. It is a single .exe file with no installer.
- Run the file. A small floating toolbar appears at the edge of your screen.
- Click the pen or highlighter to start drawing on your screen.
- Use the color picker to switch between colors as needed.
- Press Undo to remove the last stroke, or Clear to wipe everything.
- When you are done, close the toolbar or collapse it to get back to normal desktop mode.
The entire process takes about five seconds from launch to first annotation. There is no sign up, no account, and no trial period. The tool is free and ready to use.
Comparing Penslide to Other Free Options
If you search for free screen annotation tools, you will find several options. Some of the common ones include ZoomIt, Epic Pen (free tier), and built in tools from operating systems or video call apps.
ZoomIt is a solid utility from Microsoft, but it was built for zoom and timer use during presentations. The annotation features are secondary, and the interface uses keyboard shortcuts that are not always intuitive. If you want a more modern alternative, see the ZoomIt alternative comparison.
Epic Pen offers a free version, but it limits features and shows upgrade prompts. The paid version is capable, but if you just want to draw on your screen without friction, the free tier can feel restrictive. The Epic Pen alternative guide covers this in more detail.
Built in tools from Zoom, Teams, or Google Meet only work during calls and only within those apps. If you switch to a browser or open a file, the annotation disappears. Penslide works across your entire desktop, regardless of what app you are using.
Tips for Better Screen Annotation
Having the tool is one thing. Using it well is another. Here are some habits that make annotation more effective.
Use Color Sparingly
Pick one main color for drawing and one for highlighting. If you use five different colors in a single session, the screen starts to look chaotic. Red or blue for drawing, yellow for highlighting. Keep it simple.
Draw Less Than You Think You Need
A single circle or underline communicates more than a paragraph of scribbles. Annotation works best when it adds one clear visual cue. If the entire screen is covered in marks, none of them stand out.
Clear Frequently
After you make a point, clear the annotations before moving to the next topic. Leftover marks from a previous explanation confuse the audience. Treat each annotation as a temporary visual aid, not a permanent note.
Practice Before the Presentation
Spend two minutes drawing on your screen before the real session starts. Get comfortable with the pen size, the toolbar position, and the undo shortcut. That small investment eliminates fumbling during the actual presentation.
Who Uses Free Screen Annotation Tools
The audience is broader than you might expect. Teachers use them for online lessons. IT support teams use them for remote troubleshooting. Sales teams use them for product demos. Designers use them for feedback sessions. Project managers use them for sprint reviews.
The common thread is that someone needs to point to something on a screen while another person watches. That happens dozens of times a day across almost every profession that involves a computer and a conversation.
You do not need to be a "power user" to benefit from annotation. If you have ever tried to explain something on screen and wished you could just draw an arrow, you are the target audience.
FAQ
Can I use a free screen annotation tool without installing anything?
Yes. Tools like Penslide run as a single portable executable. You download the file, double click it, and start annotating. There is no installer, no registry changes, and no admin rights required.
Does a free screen annotation tool work with Zoom and Teams?
It works alongside Zoom, Teams, and any other video call app. Because the annotation layer sits on top of your desktop, whatever you draw appears in your shared screen feed. The other participants see your marks in real time.
Will a free annotation tool slow down my computer?
A well built tool like Penslide uses minimal resources. The toolbar is lightweight, the drawing engine is optimized for real time rendering, and the app does not run background processes. You will not notice a performance difference on any modern Windows machine.
Can I save my annotations as an image?
Penslide includes a screenshot feature that captures your annotated screen. You can save the result as an image file for documentation or follow up. The snip tool lets you select a specific area instead of capturing the full screen.
What is the best free screen annotation tool for Windows in 2026?
Penslide is a strong choice for users who want fast, portable, and clean annotation on Windows. It covers drawing, highlighting, and screen capture without the complexity of larger software suites.
Conclusion
A free screen annotation tool is not a luxury. It is a communication tool that belongs in the same category as a microphone or a webcam. If you share your screen with other people, you need a way to point at things clearly.
Penslide fills that role without asking you to install anything, pay anything, or learn a complicated interface. It opens fast, stays small, and gives you the drawing tools that actually matter during a live session.
The next time you are in a meeting and you catch yourself waving your cursor at something, remember that there is a better way. Open Penslide, draw a circle, and move on.
Get Started
Download Penslide from the download page and try it in your next call. Visit the homepage to learn more about the full feature set, or check the Windows annotation software guide for a deeper comparison of lightweight tools.
Use Penslide with the next screen share
Open Penslide, point to the part of your screen you need, and draw in a way that keeps the audience on the same page. It works with slide decks, browser windows, and shared apps.