How to Annotate Your Screen During Presentations Like a Pro
You are three slides into a presentation when someone on the call says, "Can you go back? I did not catch which number you were referring to." You scroll back, wave your cursor near a table, and say, "This one, right here." They squint. You move the cursor around. Someone else asks, "The one on the left or the right?"
This is the moment that breaks a presentation. Not because the content is bad, but because there is no way to physically point at something on a shared screen. Annotating your screen during a presentation fixes that. You circle the number, underline the row, or highlight the paragraph. Everyone sees the same thing. No more guessing.
This guide covers how to annotate your screen during presentations without looking clumsy, what tools work best, and how to develop habits that keep your presentations clean and focused. Penslide is the tool I use for this, and I will explain why throughout.
Why Cursor Pointing Does Not Work
It seems like it should. You share your screen, you move your cursor to the thing you want people to look at, and you talk about it. The problem is that a cursor is tiny, it moves unpredictably, and it disappears into dense content.
On a spreadsheet with hundreds of cells, a cursor is invisible. On a slide with multiple bullet points, it blends into the background. On a web page with navigation menus, sidebars, and footer links, the cursor is one small arrow in a sea of text.
The other problem is speed. Your eyes know where the cursor is because you are controlling it. Your audience's eyes are half a second behind. By the time they find the cursor, you have already moved it. The result is a constant game of visual catch up that makes your audience tired and your presentation frustrating.
Annotation replaces cursor pointing with marks that stay on screen. A circle does not move. A highlight does not disappear. An underline sits right below the text until you clear it. Your audience has time to see it, read it, and process it.
What You Need to Annotate During a Presentation
The setup is simpler than you might expect. You need a screen annotation tool that draws on top of your desktop, works across different apps, and clears quickly. That is it.
A Transparent Drawing Layer
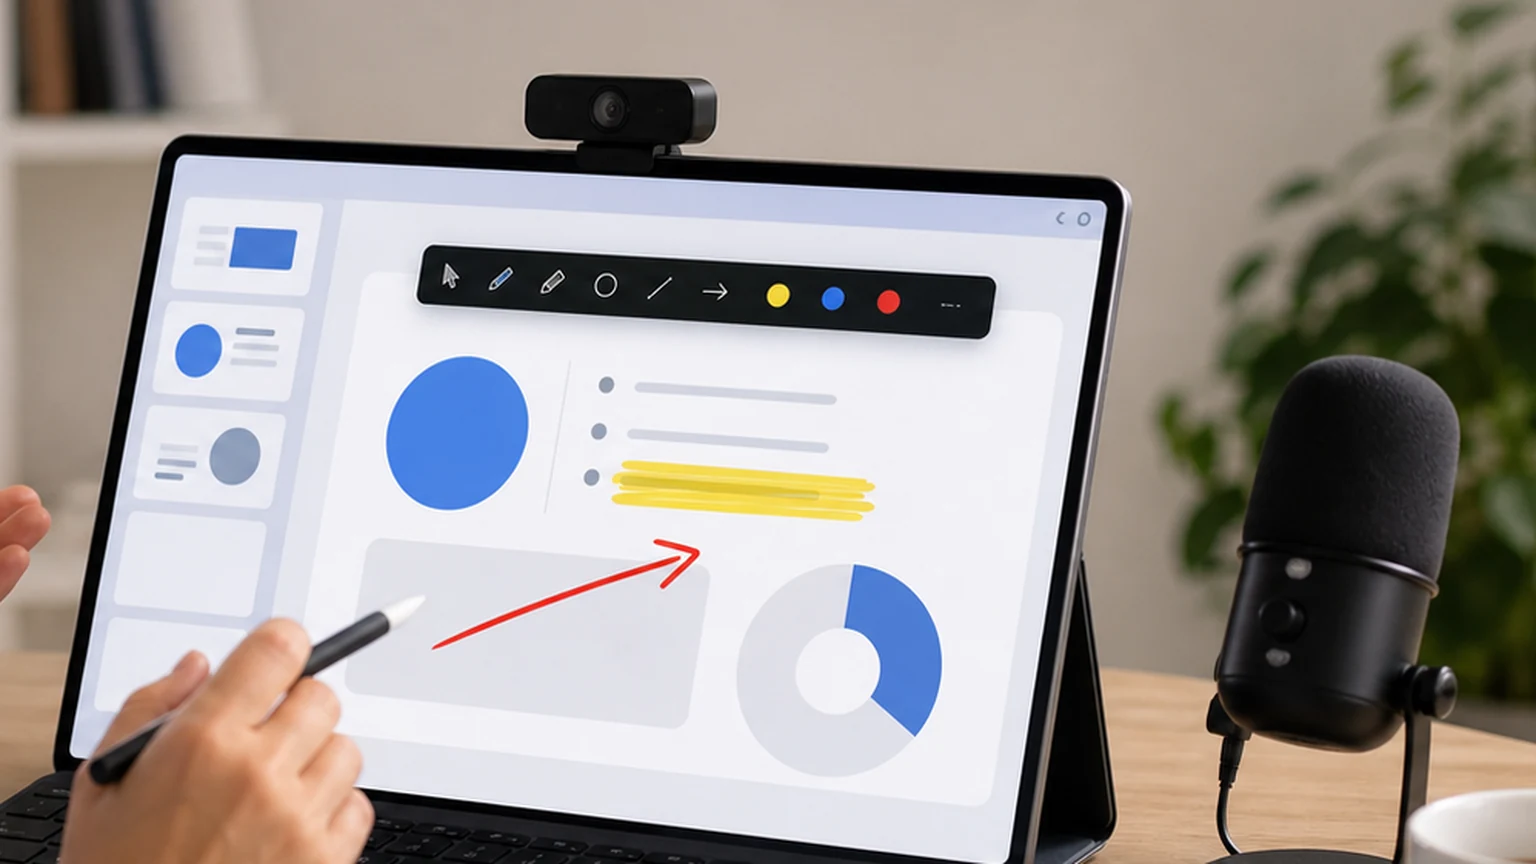
The annotation tool creates an invisible layer over your entire screen. When you draw, the marks appear on this layer, on top of whatever is visible underneath. Your slides, browser, spreadsheet, or any other app stays exactly where it is.
Basic Drawing Tools
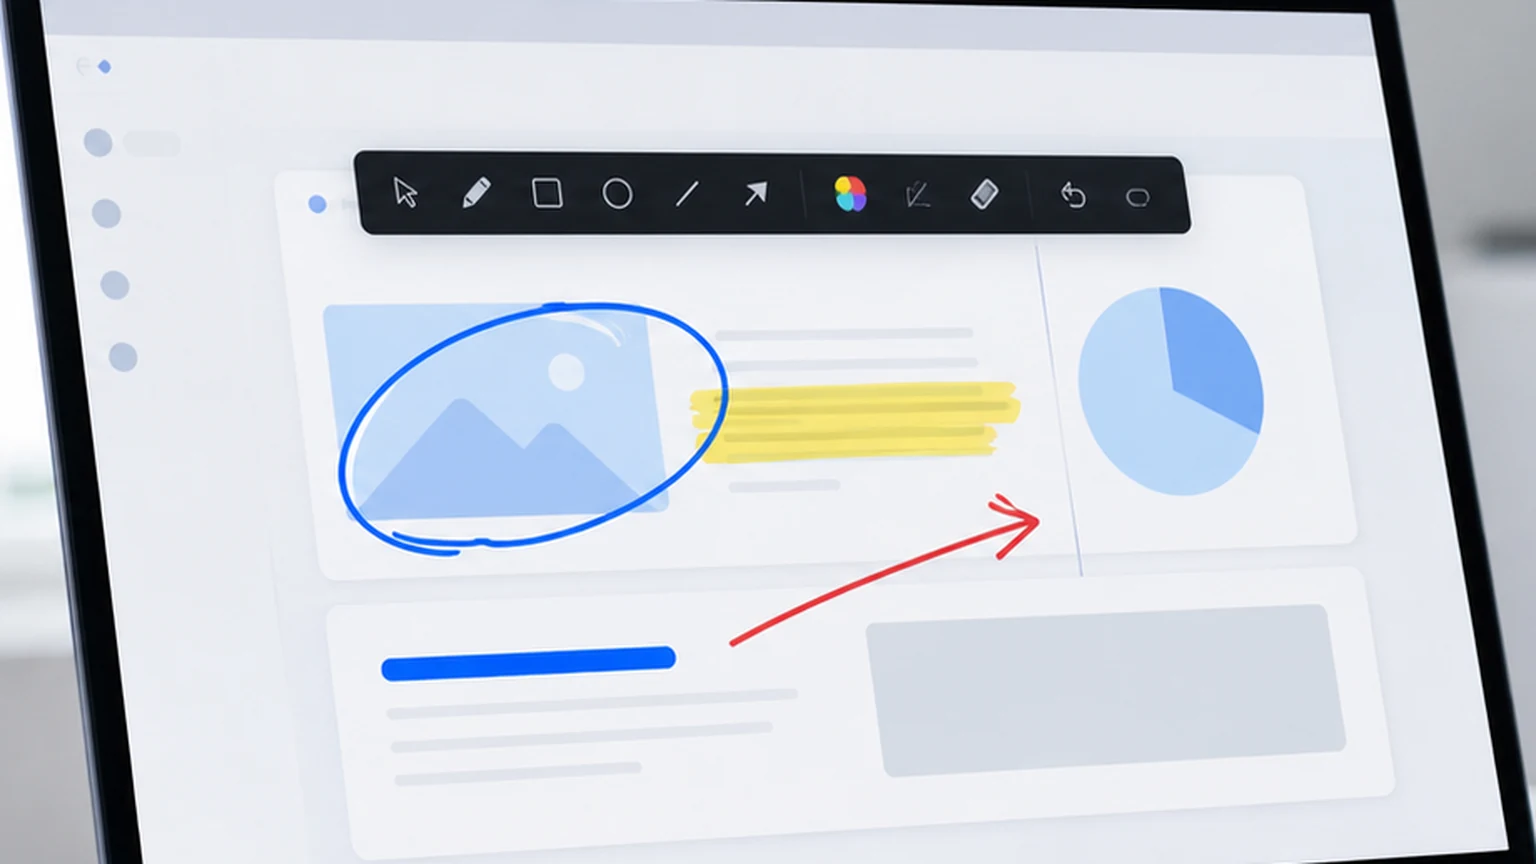
You need a pen for circles, arrows, and freehand marks. You need a highlighter for text and rows. You need a color selector so you can switch between red, blue, and yellow depending on what makes sense for the content. That is the complete list. Anything beyond this is optional.
Quick Clear and Undo
After each annotated explanation, you clear the marks before moving to the next point. A one click clear button and a keyboard shortcut for undo are the two most important controls. If clearing requires navigating a menu, the tool is too slow for live presentations.
No Installation Required
You might present from your own laptop, a conference room machine, or a borrowed device. A portable annotation tool that runs from a single file, without installation, is far more practical than one that requires a setup process. Download Penslide from the download page and it works on any Windows machine immediately.
How to Annotate Like a Pro During Presentations
The tools are simple. The technique is what makes the difference between a clean, professional presentation and a messy one. Here are the habits that experienced presenters use.
Annotate After You State the Point
Say the thing first, then draw the mark. "Our revenue grew 18% this quarter" followed by a circle around the number. This creates a two step reveal: the audience hears the fact, then sees where it is. If you circle before you speak, they read the number and stop listening to your explanation.
One Mark Per Point
Each annotation should communicate one idea. Circle the metric. Underline the heading. Highlight the conclusion. If you need to show a relationship between two items, draw one arrow connecting them. Resist the urge to annotate everything on the slide. The power of annotation comes from selective emphasis.
Clear Before Changing Topics
Before you advance to the next slide or switch to a different app, clear all annotations. Leftover marks from a previous topic create visual confusion. Your audience does not know which marks are current and which are stale. A clean transition keeps the presentation professional.
Match Color to Content
If your slide has a dark background, use a bright color like yellow or light blue. If the background is white, red or blue shows up well. The goal is contrast. Your annotation needs to be immediately visible against whatever is behind it.
Keep Strokes Deliberate
Move your hand slowly when drawing. A deliberate circle looks professional. A fast scribble looks like you are nervous. The difference is subtle, but your audience registers it. Practice drawing a few circles and underlines before the presentation so your hand is steady.
Common Presentation Scenarios Where Annotation Helps
Annotation is useful across many types of presentations. Here are the situations where it makes the biggest difference.
Financial Reviews
Spreadsheets and financial dashboards are dense. Without annotation, you end up saying "look at row 42, column E" while your audience scrolls their eyes across the screen. With annotation, you highlight the cell and the conversation moves forward.
Product Demos
When demonstrating software, you need to show where features are located. Circling a button, highlighting a menu option, or drawing an arrow from one panel to another creates a visual path that the viewer follows naturally.
Design Reviews
Reviewing a design on screen is difficult without annotation. "I think we should change the button color" is vague. Circling the specific button and drawing a quick note next to it is precise. The screen drawing app guide covers more about this workflow.
Training and Onboarding
New employee onboarding often involves walking through tools and processes. Annotation turns a verbal walkthrough into a guided tour. Each step gets a visual marker, and the trainee follows the markers instead of trying to decode verbal instructions. See the presentation annotation tool guide for teaching specific tips.
Status Updates and Sprint Reviews
When you share a project board, a Gantt chart, or a roadmap during a status meeting, annotation helps you direct attention to the items that matter. Circle the blocked task. Highlight the completed milestone. Underline the upcoming deadline. The visual emphasis saves you from reading the entire board out loud.
Using Penslide to Annotate During Presentations
Here is the practical workflow with Penslide.
- Open Penslide before your presentation starts. The toolbar appears at the screen edge.
- Start your presentation normally. Share your screen through your video call app.
- When you need to annotate, click the pen or highlighter on the Penslide toolbar.
- Draw your mark. Circle, underline, highlight, or arrow.
- Explain the point while the annotation is visible.
- Click clear to remove all marks before moving to the next topic.
- Repeat for each point that needs visual emphasis.
The toolbar stays on top of all windows, so it works whether you are in PowerPoint, a browser, Excel, or any other app. You do not need to switch between tools or activate a special mode. Visit the Penslide homepage to see the full feature list.
Mistakes That Make Annotations Look Unprofessional
Annotation is easy to do. It is also easy to do badly. Avoid these common mistakes.
Annotating Too Much
If every item on every slide is annotated, nothing stands out. Use annotation for emphasis, not for decoration. A slide with one circle has more impact than a slide with five.
Leaving Old Marks on Screen
This is the most frequent mistake in live presentations. The speaker annotates something, moves to a new slide, and the old marks are still visible. The audience sees a jumble of current and past annotations. Always clear before advancing.
Using a Cluttered Tool
If your annotation toolbar has twenty buttons and takes up a quarter of the screen, it distracts your audience. They notice the tool instead of your content. A minimal toolbar like Penslide's avoids this problem.
Drawing Too Fast
Rushing your annotations produces messy, illegible marks. Slow down by a fraction. The audience is watching you draw, and clean marks look professional. A confident, slow circle communicates better than a rushed scribble.
How Annotation Fits Into the Broader Presentation Toolkit
Screen annotation is one tool in your presentation setup, alongside slides, a webcam, a microphone, and screen sharing software. It does not replace any of these; it complements them.
Think of it as the digital version of standing at a whiteboard and pointing. Your slides provide the structure, your voice provides the narrative, and your annotations provide the visual emphasis that connects the two. Without annotation, your presentations rely entirely on words and well organized slides. With annotation, you can improvise, respond to questions visually, and direct attention in real time.
For teachers who present daily, the presentation tools for teachers guide covers how to build a complete teaching setup. For anyone who highlights text regularly, the screen highlighting guide goes deeper on highlighter techniques.
FAQ
Can I annotate my screen during a Zoom presentation?
Yes. Penslide draws on your desktop, so everything you annotate appears in your Zoom screen share. Other participants see your marks in real time. This also works with Teams, Google Meet, and any other video call platform.
Does annotation work when I switch between apps?
It does. Penslide stays on top of all windows. You can annotate in PowerPoint, switch to a browser, annotate there, and switch back. The toolbar follows you across apps.
How do I remove annotations quickly during a presentation?
Penslide has a clear button that removes all marks with one click. You can also use the undo function to remove individual strokes. Both options are fast enough for live presentations.
Will annotation slow down my presentation software?
No. Penslide is lightweight and uses minimal system resources. It runs alongside PowerPoint, Google Slides, and other presentation tools without affecting their performance.
Conclusion
Annotating your screen during a presentation is the difference between directing attention and hoping attention finds its way. A circle, an underline, or a highlight gives your audience something concrete to look at while you explain the point.
The technique is simple: annotate after you speak, use one mark per point, clear before moving on. The tool should be equally simple. Penslide gives you that simplicity in a free, portable package that works across every app on Windows.
If you present to an audience more than once a week, this is a skill and a tool worth adding to your routine. The first time you circle a metric instead of pointing at it with your cursor, you will feel the difference.
Get Started
Download Penslide from the download page and try annotating during your next presentation. Visit the homepage for a complete product overview, or read the screen highlighter tool guide for tips on using the highlighter mode effectively.
Use Penslide with the next screen share
Open Penslide, point to the part of your screen you need, and draw in a way that keeps the audience on the same page. It works with slide decks, browser windows, and shared apps.