Best Screen Highlighter Tool for Online Teaching and Meetings
There is a specific problem that happens in every online meeting where someone shares a screen full of text. The speaker says, "Look at the third paragraph." Everyone on the call scans the page, counts paragraphs, second guesses themselves, and loses the thread of the conversation. By the time they find the right paragraph, the speaker has already moved to the next point.
A screen highlighter tool eliminates that problem. You sweep a transparent color over the paragraph, and it lights up. Everyone sees it instantly. The meeting moves forward without the "which paragraph?" detour.
This guide is about choosing and using a screen highlighter tool that works well for online teaching and meetings. It covers what features matter, how to highlight effectively, and why Penslide handles this task well.
What a Screen Highlighter Tool Does
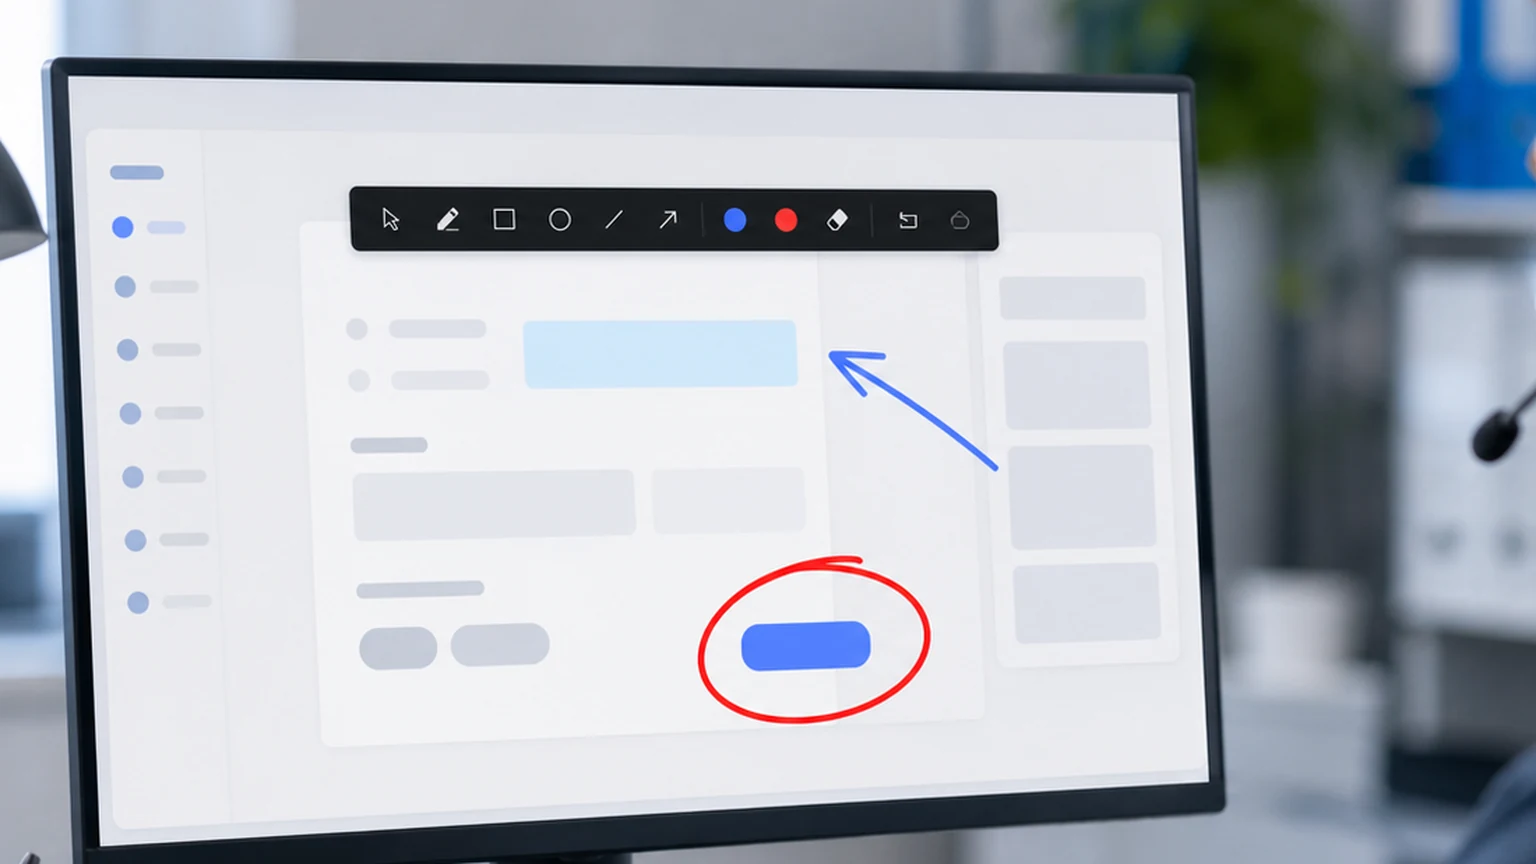
A screen highlighter tool draws a semi transparent color strip over content on your screen. Unlike a solid pen line, the highlight lets you see the underlying text or image through the color. This is the same concept as a physical highlighter marker on paper, applied to your desktop.
The highlighting happens on a transparent overlay layer. Your apps, documents, and browser windows stay unchanged. The highlight appears on top, visible to you and to anyone watching your shared screen.
The key distinction from a regular pen tool is opacity. A pen draws a solid line that covers the content underneath. A highlighter draws a semi transparent stripe that emphasizes the content without hiding it. For text, this difference is critical. You want the audience to read the highlighted text, not just see a colored block.
Why Highlighting Matters for Online Teaching
Online teachers work with dense material: slides full of bullet points, web pages with paragraphs of text, code editors with hundreds of lines, and spreadsheets with dozens of columns. The challenge in every case is directing student attention to the right part of the screen.
Text Heavy Slides
Some lessons require slides with substantial text. A history lesson with a primary source quote. A language lesson with a passage for analysis. A business class with a case study excerpt. When the slide is dense, the highlighter tells students exactly which lines to focus on right now.
Code Walkthroughs
When teaching programming, you often need to highlight one function, one variable, or one line in a file that has hundreds of lines. Verbal references like "line 47" work, but highlighting the line visually is faster and more reliable. Students see the highlighted code immediately instead of counting lines.
Document Reviews
If your lesson involves reviewing a document, an essay, a report, or a set of instructions, the highlighter lets you mark the sentences you are discussing. Students follow the highlighted trail through the document instead of guessing which paragraph you mean.
Spreadsheet Analysis
Spreadsheets are visually dense by nature. Rows and columns of numbers compete for attention. Highlighting a specific row, column, or cell group makes the data point you are discussing stand out from the rest. This is especially useful in math, accounting, and data analysis courses.
Why Highlighting Matters for Meetings
Meetings are shorter and faster paced than lessons, which makes clear visual communication even more important. You have less time to explain, and your audience has less patience for confusion.
Data Presentations
When sharing metrics, dashboards, or reports, highlighting the key number or trend line draws everyone's attention to the same data point. Instead of saying "notice the growth rate in Q3," you highlight the Q3 column and the conversation stays aligned.
Document Collaboration
During a meeting where you review a document together, highlighting the paragraph under discussion keeps everyone on the same page, literally. This works for contracts, proposals, project plans, and any document where specific sections need attention.
Process Walkthroughs
If you are explaining a process by sharing a flowchart, a diagram, or a software interface, highlighting each step as you discuss it creates a visual sequence. The audience follows the highlighted path through the process instead of trying to map your words to the diagram.
What to Look for in a Screen Highlighter Tool
Not every annotation tool has a good highlighter mode. Some only offer a solid pen, which covers the content instead of emphasizing it. Here are the features that make a highlighter tool effective.
Adjustable Opacity
The highlight should be transparent enough to read through but visible enough to stand out. If the opacity is too high, the text is unreadable. If it is too low, the highlight is invisible. Penslide uses a highlighter opacity that balances visibility with readability.
Smooth Stroke
When you drag the highlighter across a line of text, the stroke should be smooth and even. Jagged or pixelated highlights look distracting. A smooth stroke looks intentional and professional.
Color Options
Yellow is the default highlighter color for a reason: it provides good contrast on white backgrounds without obscuring text. But depending on your content background, you might need blue, green, pink, or another color. The tool should offer at least a few options.
Quick Access
Switching between the pen and the highlighter should take one click. If you need to navigate a menu to change tools, the flow of your presentation or meeting breaks. Penslide puts both tools on the main toolbar for instant access.
How to Highlight Effectively
Having a highlighter is one thing. Using it well is another. Here are habits that make highlighting more effective during live sessions.
Highlight One Thing at a Time
If you highlight three paragraphs simultaneously, the audience does not know which one you are discussing. Highlight the first paragraph, discuss it, clear, then highlight the second. Sequential highlighting mirrors the flow of your explanation.
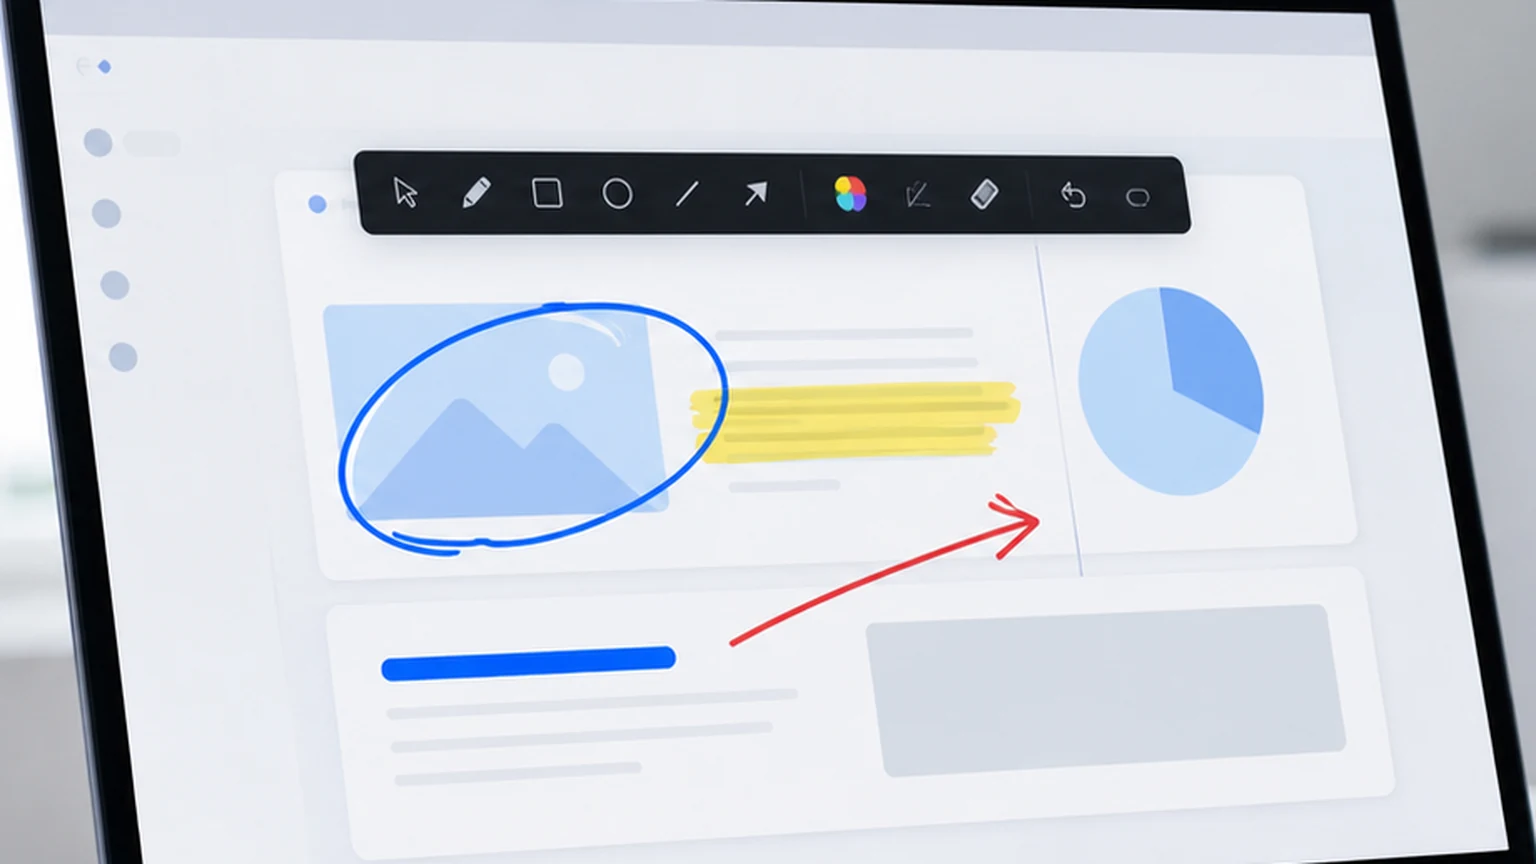
Use Horizontal Strokes for Text
When highlighting a line of text, draw a horizontal stroke across it, just like you would with a physical highlighter on paper. Avoid circling text with the highlighter; that is what the pen tool is for. Horizontal highlights look clean and are instantly recognizable as emphasis markers.
Match the Highlight Width to the Content
A thin highlight works for a single word or a short phrase. A wider stroke works for a full paragraph or a data row. Adjust your stroke width to match what you are emphasizing. Penslide lets you control the stroke size for exactly this reason.
Clear After Each Point
This applies to highlighting just as much as to drawing. After you finish discussing the highlighted content, clear the marks before moving to the next topic. Stale highlights confuse the audience about what is currently being discussed.
Combine Highlighting with Verbal Cues
Say "Notice the revenue figure here" and then highlight it. Or highlight it and say "This is the number I want to discuss." Either order works. The important thing is that the visual and verbal cues reinforce each other.
Screen Highlighter for Different Professions
The highlighter tool is versatile enough to serve different roles. Here is how various professions use it.
- Teachers highlight text passages, code lines, and diagram labels during lessons to guide student attention.
- Project managers highlight milestones, deadlines, and blocked items on project boards during status meetings.
- Support technicians highlight settings, buttons, and error messages when guiding users through troubleshooting steps. The remote support annotation guide covers this in detail.
- Sales teams highlight product features, pricing, and comparison data during demos to keep the prospect focused on value.
- HR teams highlight policy sections, form fields, and benefit details during onboarding sessions.
In each case, the highlighter serves the same purpose: drawing attention to specific content on a dense screen. The context changes, but the tool works the same way.
Using Penslide as Your Screen Highlighter
Penslide includes a highlighter mode alongside its freehand pen. Here is how to use it.
- Open Penslide from the download page file. The toolbar appears at the screen edge.
- Click the highlighter icon on the toolbar.
- Select your color. Yellow works well for white backgrounds. Blue or pink work for darker content.
- Drag across the text, row, or area you want to emphasize.
- Discuss the highlighted content with your audience.
- Clear the highlight when you are ready to move on.
The highlighter works across all apps on your desktop. You can highlight text in a PDF, switch to a browser and highlight a paragraph there, then switch to a spreadsheet and highlight a row. The tool follows you across everything. Check the homepage for the full feature list.
Highlighting vs. Other Emphasis Methods
There are other ways to emphasize content during a shared screen session. Here is how highlighting compares to them.
Cursor pointing moves fast and disappears the moment you move the mouse. Highlighting stays visible until you clear it. For content that takes more than a second to discuss, highlighting wins.
Zooming in shows more detail but removes context. You see the cell but lose the spreadsheet. Highlighting keeps the full view while adding emphasis to a specific area.
Pen circles are good for discrete items like buttons, icons, and individual numbers. Highlights are better for continuous content like text lines, paragraphs, and data rows. The two tools complement each other, which is why Penslide includes both.
For more on the pen tool and how it pairs with the highlighter, see the presentation annotation guide.
FAQ
Does a screen highlighter tool work during Zoom calls?
Yes. The highlight draws on your desktop layer, which is included in your screen share. Everyone in the Zoom call sees the highlight in real time. This also works with Teams, Google Meet, and other platforms.
Can I change the highlighter color during a meeting?
You can. Penslide offers a color picker on the toolbar. You can switch between colors with one click, without interrupting your workflow.
Does the highlighter affect the text underneath?
No. The highlight is drawn on a transparent overlay layer. The apps and documents underneath are completely untouched. When you clear the highlights, everything looks exactly as it did before.
What is the best highlighter color for presentations?
Yellow is the most universally readable color on white and light backgrounds. For dark backgrounds, light blue or green provides better contrast. Choose a color that stands out against your content without making the text unreadable.
Conclusion
A screen highlighter tool is one of those things you do not think about until you need it, and then you wonder how you managed without it. In meetings and online teaching, the ability to highlight specific content on a shared screen saves time, reduces confusion, and keeps the conversation moving.
Penslide provides this tool in a portable, free, lightweight package. The highlighter mode is available alongside the pen, with quick color switching and instant clear. It works across every app on your Windows desktop, which means you are never without visual emphasis when you need it.
Get Started
Download Penslide from the download page and try the highlighter in your next meeting. Visit the homepage for a full overview, or read the how to highlight on screen guide for practical techniques you can use immediately.
Use Penslide with the next screen share
Open Penslide, point to the part of your screen you need, and draw in a way that keeps the audience on the same page. It works with slide decks, browser windows, and shared apps.