Best Live Screen Markup App for Tutorials and Support Teams
When a support technician draws a circle around a button on a customer's shared screen, the support call gets shorter. When a tutorial creator highlights the next step in a process, the viewer follows along without pausing the video. When a team lead marks up a project board during a standup, the whole team knows which tasks are being discussed.
Live screen markup is the act of drawing on your screen in real time while someone else watches. It is not about saving annotated images or creating documentation. It is about communication that happens in the moment, marks that appear, serve their purpose, and disappear.
This guide covers what makes a live screen markup app useful for tutorials and support teams, what features to look for, and how Penslide handles this specific workflow on Windows.
What Live Screen Markup Actually Means
The word "live" is the key differentiator. Live markup happens while the audience is watching. The marks appear on screen in real time, synchronized with the speaker's explanation. This is different from static annotation, where you mark up a screenshot and send it as an image.
Live markup is a communication tool, not a documentation tool. The marks are temporary. They exist to clarify what the speaker is saying right now, not to create a record for later. When the point is made, the marks are cleared, and the screen returns to its original state.
This distinction matters because it shapes what the app needs to do. A documentation tool needs export, save, and formatting features. A live markup app needs speed, simplicity, and instant clear. The priorities are different, and the best apps reflect those priorities.
Why Tutorials Need Live Markup
Tutorials are instruction heavy. Every sentence points to something on screen: a button, a menu, a setting, a code line, a form field. The viewer needs to connect each instruction to a visual element. Without markup, they scan the screen, guess, and sometimes click the wrong thing.
Reducing the Gap Between Instruction and Action
When a tutorial says "click the Export button in the toolbar," the viewer has to find the toolbar, scan for the Export button, and click it. With live markup, the instructor circles the Export button while saying the instruction. The viewer sees the circle, clicks, and moves on. The gap between hearing the instruction and taking the action shrinks from five seconds to one.
Showing Sequences
Many tutorials involve multi step processes: click here, then here, then fill in this field, then click Submit. Live markup lets the instructor mark each step in sequence, clearing between steps. The viewer follows a visual trail through the interface instead of memorizing a sequence of verbal instructions.
Handling Complex Interfaces
Some software has dense interfaces with dozens of buttons, panels, and menus. A tutorial about this kind of software is almost impossible to follow without visual cues. Live markup cuts through the complexity by directing attention to exactly the right element at exactly the right moment.
Why Support Teams Need Live Markup
Support calls have a unique pressure. The customer is frustrated, the clock is ticking, and the technician needs to resolve the issue quickly. Every second spent on "no, the other button" is a second closer to a negative experience.
Visual Guidance Replaces Verbal Navigation
Instead of saying "go to Settings, then scroll down to the Advanced section, then look for the Permissions tab," the technician draws a path: circle Settings, arrow to Advanced, highlight Permissions. The customer follows the visual guide without needing to translate words into clicks.
Reducing Miscommunication
Verbal instructions are ambiguous. "The button on the right" could mean different things depending on the screen resolution, the window size, or the customer's interpretation of "right." A circle around the specific button eliminates that ambiguity entirely. See the remote support annotation guide for more on this workflow.
Building Customer Confidence
When a support technician visually guides the customer through each step, the customer feels supported. They see the marks on screen and know they are clicking the right thing. This reduces anxiety, especially for customers who are not technically confident.
Faster Resolution
Clear visual guidance means fewer misclicks, fewer "go back" moments, and fewer clarification questions. The support call gets shorter. The customer is happier. The technician moves to the next ticket faster. Everyone wins.
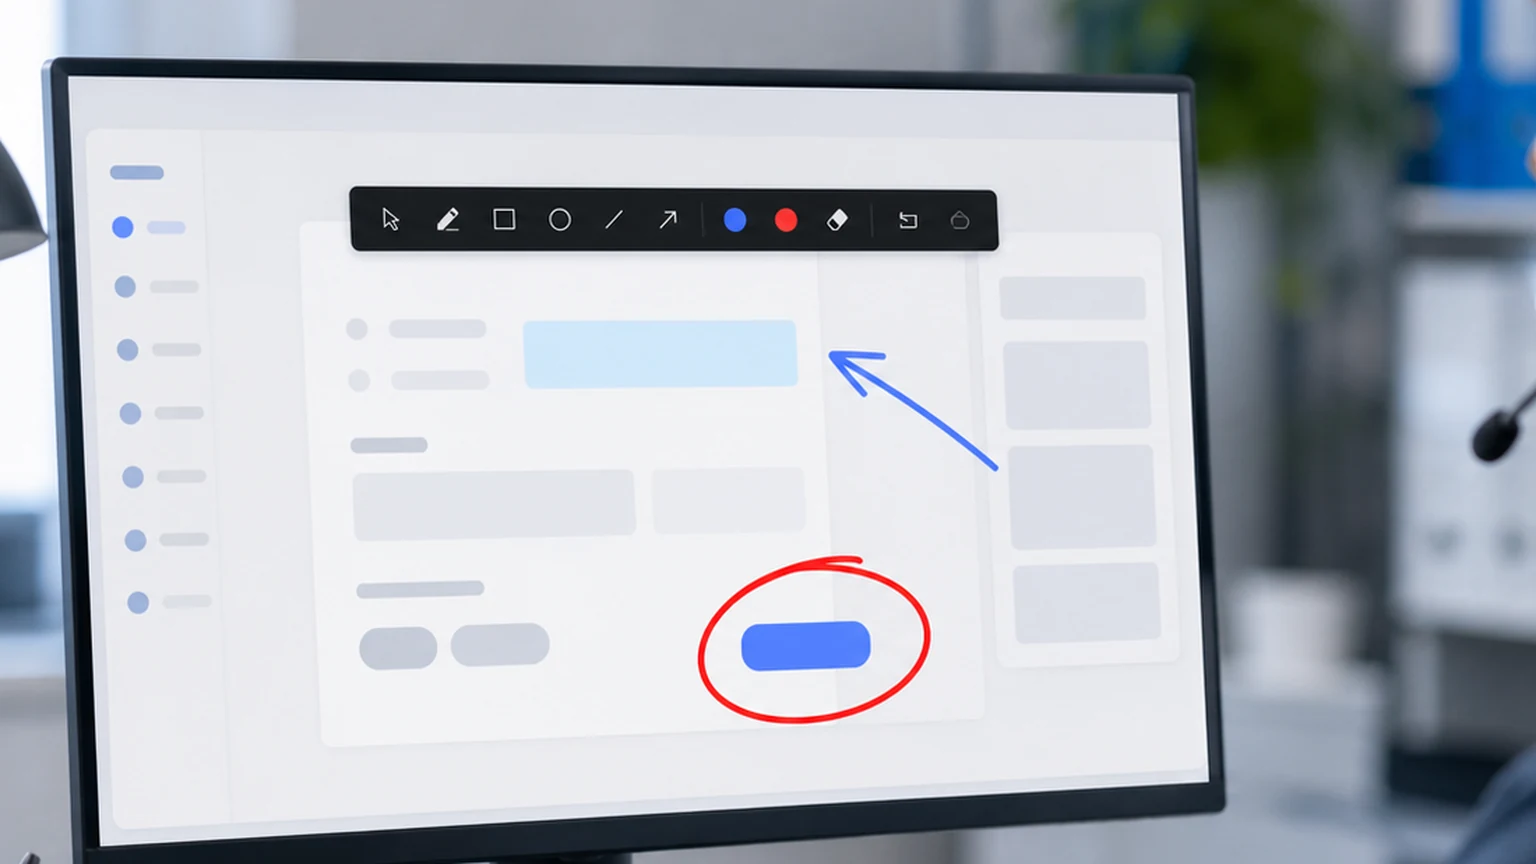
What to Look for in a Live Screen Markup App
Not every annotation tool is suited for live markup. Some are designed for static annotation or documentation. The features that matter for live use are specific.
Instant Activation
You need to draw right now, not after a loading screen. The app should be ready the moment you need it. If it takes more than two seconds to go from idle to drawing, it is too slow for live work.
Transparent Overlay
The markup happens on top of the existing screen content. The underlying apps stay visible and functional. This is essential because the person watching needs to see both your marks and the content they refer to.
Quick Clear
Live markup is temporary by nature. You mark, you explain, you clear. The clear function needs to be one click or one shortcut. Anything more disrupts the flow.
Compact Interface
During a support call or tutorial, the content is the focus. The markup tool should be as small and unobtrusive as possible. A floating toolbar at the screen edge works. A full application window does not.
Cross App Support
Tutorials and support calls often involve multiple apps. You might markup a browser, switch to a settings panel, markup that, then switch to a file manager. The tool needs to work across all of them without requiring mode changes or reactivation.
How Penslide Works for Live Markup
Penslide is built for the live markup workflow. Here is how it fits into a typical session.
You open Penslide before the call or tutorial begins. The compact toolbar appears at the screen edge, on top of all other windows.
When you need to markup, click the pen or highlighter. Draw your mark on the screen. The mark appears immediately, visible in your screen share.
Explain the point while the mark is visible. When you are done, click clear. The screen returns to its original state. Move to the next point and repeat.
The entire cycle, activate, draw, explain, clear, takes a few seconds. There are no mode switches, no menus, and no dialogs. The tool stays in the background until you need it, and it delivers instantly when you do. Download it from the download page and try the workflow yourself.
Best Practices for Live Screen Markup
The tool is simple. Using it effectively requires a few habits.
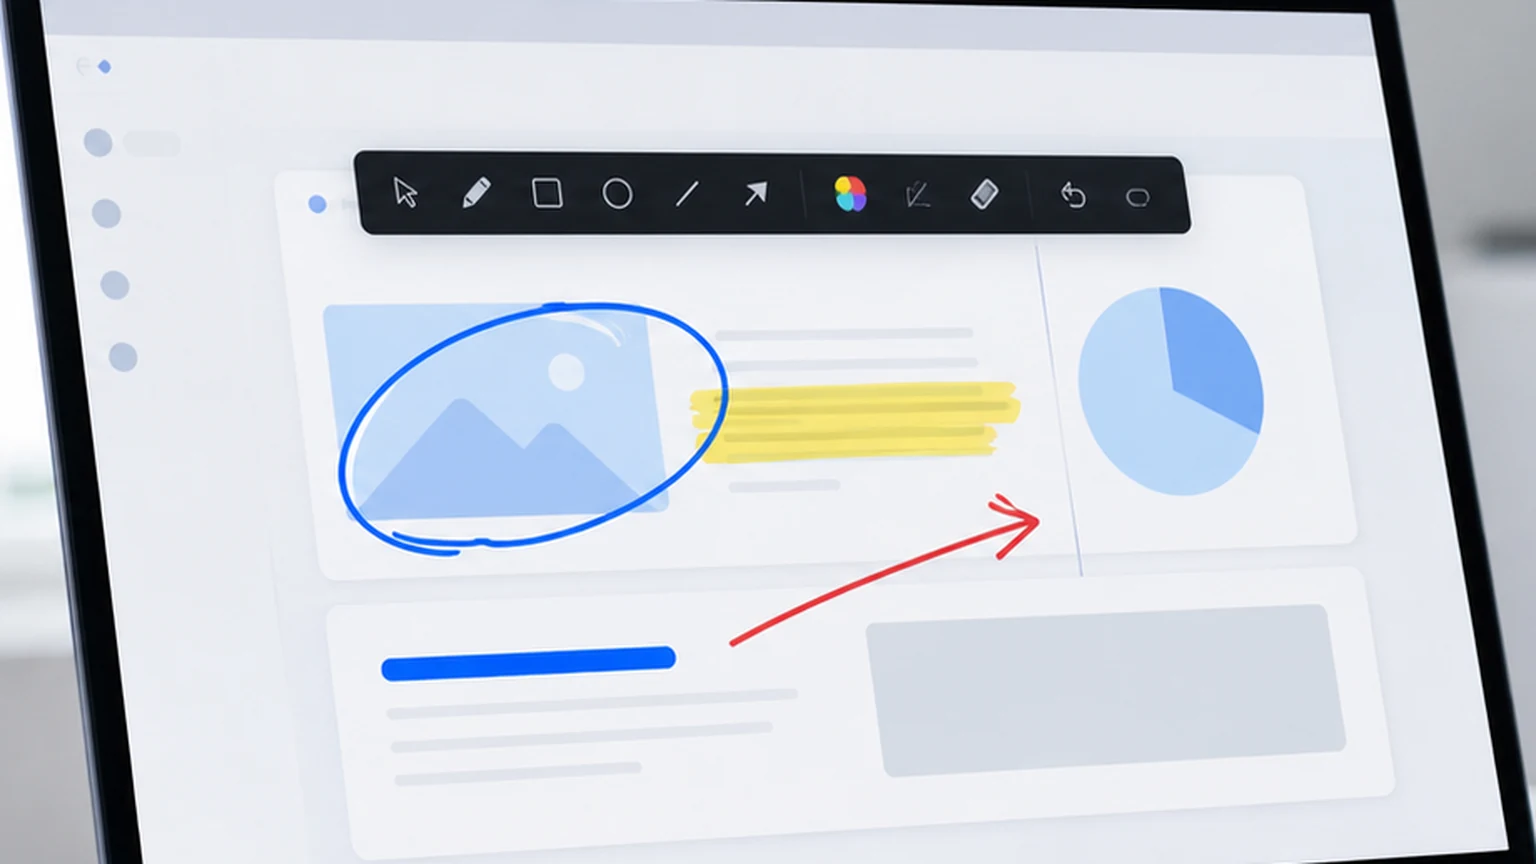
Mark One Thing at a Time
Each mark should correspond to one instruction. Circle the button you are talking about. Highlight the text you are reading. Do not mark five things and then explain them all. Sequential marking keeps the audience aligned with your explanation.
Clear Between Instructions
After each instruction, clear the marks. The next instruction gets fresh marks on a clean screen. Leftover marks from previous steps create confusion about what is current and what is stale.
Use the Right Tool for the Content
Use the pen for shapes: circles, arrows, and lines. Use the highlighter for text: paragraphs, labels, and data rows. Matching the tool to the content type produces cleaner, more readable marks.
Slow Down Your Hand
A deliberate circle looks professional. A rushed scribble looks careless. Slow your drawing speed by a small amount and the difference in appearance is noticeable. Your audience sees the mark on the shared screen, so clarity matters.
Test Before the Session
Spend thirty seconds drawing on your screen before the call starts. Confirm the pen works, the color is visible, and the clear button responds. This avoids fumbling during the live session.
Live Markup in Different Team Contexts
- Customer support teams use live markup to guide users through troubleshooting steps, reducing call length and improving satisfaction.
- IT help desks use it to walk employees through software configuration without taking remote control of their machine.
- Tutorial creators use it to produce screen recordings with clean visual emphasis, avoiding post production editing.
- Sales engineers use it during product demos to highlight features and show how the product solves the prospect's problem.
- Training departments use it to onboard new employees to internal tools, making the learning process visual and interactive. For more teaching workflows, see the presentation tools for teachers guide.
FAQ
Does live screen markup work with screen recording software?
Yes. Because the markup appears on your desktop, any screen recording software captures it along with the rest of your screen. This works with OBS, Loom, Camtasia, and other recording tools.
Can I use live markup in a Zoom or Teams call?
Yes. Penslide draws on your desktop, so the marks show up in your screen share. Participants in Zoom, Teams, Google Meet, or any other video call see your markup in real time.
What is the difference between live markup and static annotation?
Live markup happens in real time while someone is watching. The marks are temporary and cleared after each point. Static annotation is marking up a screenshot or document and saving the result for later use. Different tools are optimized for each workflow.
Is Penslide free for support teams?
Yes. Penslide is free for everyone, including commercial use. There are no team licenses, no per seat pricing, and no feature restrictions.
Conclusion
Live screen markup is one of those tools that seems minor until you use it in a real call. The first time you circle a button instead of describing its location, the conversation gets noticeably faster. The first time you highlight a row instead of reading a cell reference, the audience stays with you instead of falling behind.
Penslide makes that workflow available in a free, portable, lightweight package. It opens fast, draws cleanly, clears instantly, and stays out of the way. For tutorials and support teams, that combination covers the core need.
Get Started
Download Penslide from the download page and try live markup in your next session. Visit the homepage for the full overview and feature list. For related workflows, read the screen drawing app guide or the remote support annotation guide.
Use Penslide with the next screen share
Open Penslide, point to the part of your screen you need, and draw in a way that keeps the audience on the same page. It works with slide decks, browser windows, and shared apps.