How to Draw on Your Screen in Windows Without Complicated Software

You are on a video call. Someone asks you to explain where a setting is. You start describing it: "See the gear icon? No, the other gear icon. It is in the top bar. No, scroll up. To the right. A little more. There." That exchange takes thirty seconds and leaves everyone frustrated.
Drawing on your screen in Windows fixes that problem in about two seconds. You put a circle around the gear icon, and the other person sees it instantly. No confusion, no wasted time, no awkward cursor waving.
This guide walks through how to draw on your screen in Windows without installing complicated software, what tools work best, and how Penslide fits into this workflow for anyone who wants simple, portable annotation.
Why Drawing on Your Screen Is More Useful Than You Expect
Most people do not think about screen drawing until they need it. Then they need it urgently. It usually happens in one of these situations:
- You are presenting a slide deck and want to underline a key point live.
- You are teaching someone to use a software tool and need to circle buttons.
- You are on a support call and want to draw an arrow pointing to the right menu.
- You are reviewing a document and want to highlight a paragraph while explaining it.
In every case, the need is the same. You want to put a visible mark on your screen that the other person can see. The mark is temporary. It does not change the underlying content. It just helps you communicate faster.
The Built In Options in Windows
Windows does not include a dedicated screen drawing tool in its default installation. There are a few features that come close, but none of them are designed for live annotation.
Snipping Tool and Snip and Sketch
These tools let you capture a portion of your screen and then draw on the captured image. That works for saving annotated screenshots. It does not work for live annotation because you are drawing on a static copy, not on the actual screen. By the time you share the screenshot, the conversation has already moved on.
PowerPoint Annotation
If you are inside a PowerPoint slideshow, you can use the built in pen and highlighter. This is helpful during presentations, but it only works inside PowerPoint. The moment you switch to a browser, a spreadsheet, or any other app, the drawing tools disappear.
Whiteboard Apps
Microsoft Whiteboard and similar apps give you a blank canvas to draw on. They are useful for brainstorming, but they are not screen annotation tools. You cannot draw on top of your existing desktop content. You get a separate window with a white background.
None of these built in options give you what a dedicated screen drawing tool provides: a transparent overlay across your entire desktop that lets you draw on whatever is visible.
What You Actually Need to Draw on Screen in Windows
The solution is a lightweight app that creates a transparent canvas over your desktop. You activate it, draw, and then deactivate it when you are done. The underlying windows stay exactly where they are. Your drawing appears on top of everything.
Here is what the ideal tool looks like:
- It runs without an installer. You download a file and open it.
- It shows a small toolbar, not a full application window.
- It lets you draw freehand, highlight, and undo.
- It clears all marks with one click.
- It does not interfere with your other apps or steal keyboard focus.
That description matches Penslide exactly. The app was designed for this specific use case: fast, clean screen drawing on Windows without extra complexity.
How to Draw on Your Screen Using Penslide
Here is the step by step process. It takes less than a minute to go from download to your first annotation.
Step 1: Download the App
Go to the Penslide download page and grab the .exe file. There is no installer. The file is portable, meaning you can save it anywhere: your Desktop, a project folder, or even a USB stick.
Step 2: Launch Penslide
Double click the file. A small floating toolbar appears at the edge of your screen. Your desktop stays exactly the same; nothing gets rearranged or hidden.
Step 3: Activate Drawing Mode
Click the pen icon on the toolbar. Your cursor changes, and you can now draw directly on your screen. Everything underneath stays visible and unchanged. You are drawing on a transparent layer that sits on top.
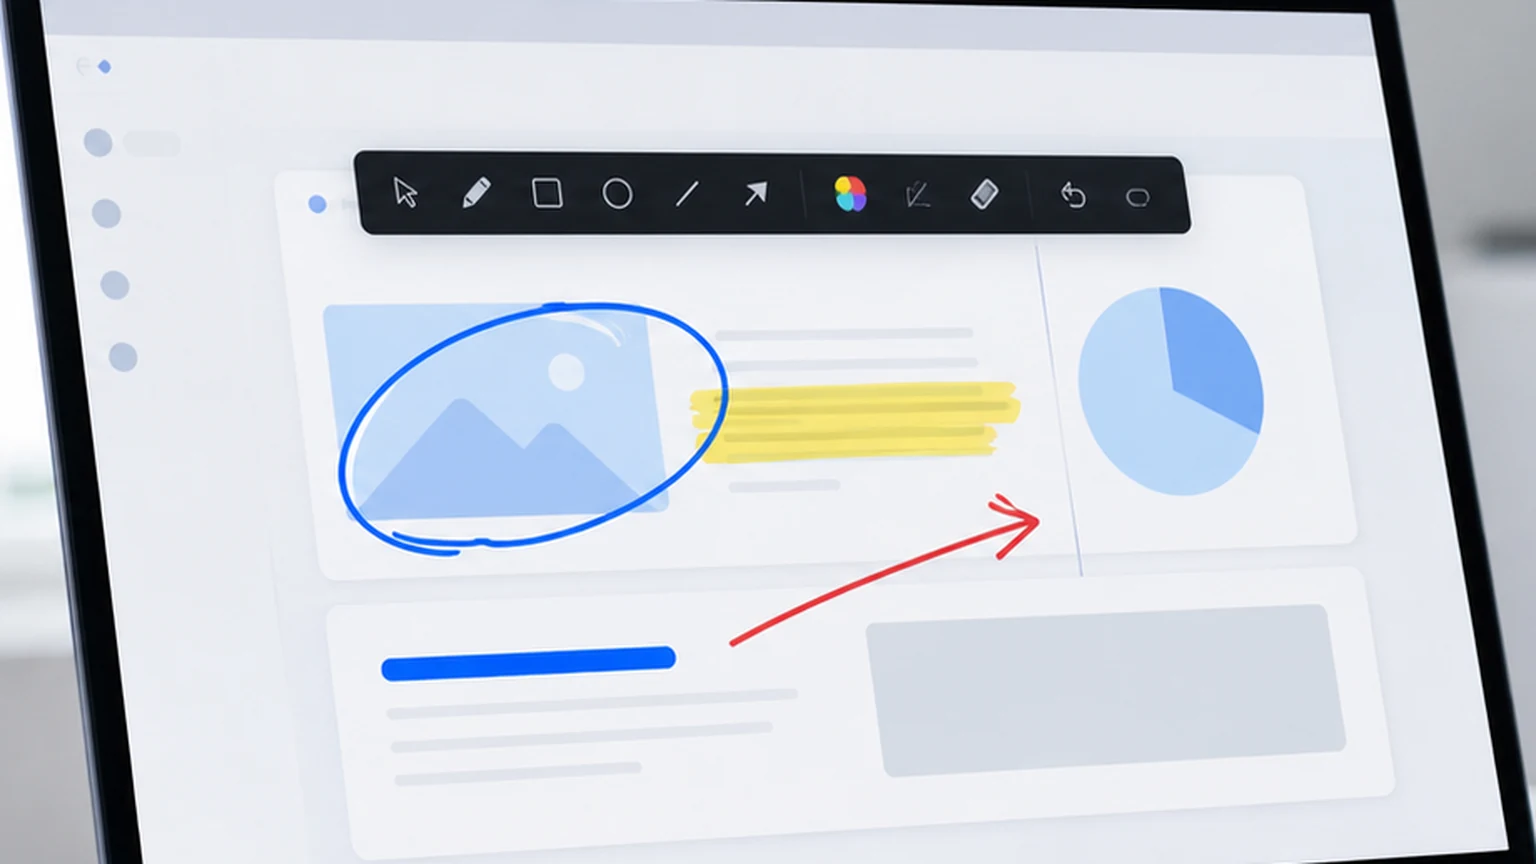
Step 4: Choose Your Tool
Penslide gives you a few simple drawing options. A freehand pen for lines and circles. A highlighter for marking text or areas with a semi transparent color. A color picker so you can switch between red, blue, yellow, or whatever makes sense for the situation.
Step 5: Annotate and Explain
Draw your marks while you talk. Circle a button, underline a heading, draw an arrow from one section to another. The marks appear in real time on your shared screen, so everyone in the call sees them immediately.
Step 6: Clear and Continue
When you are done with that point, hit the clear button or use undo to remove individual strokes. Then move on to the next topic. The annotation layer is temporary by design.
Practical Examples That Show Why This Works
The process is simple, but the impact depends on how you use it. Here are real situations where drawing on screen in Windows changes the quality of the interaction.
Walking Through a Form
Imagine you are showing a colleague how to fill out an internal form. The form has fifteen fields, and the important ones are scattered across the page. Instead of saying "skip the first three fields, then fill in the fourth one, then skip two more," you circle the four fields that matter. The visual guide is faster and more accurate than verbal instructions.
Explaining a Dashboard
Business dashboards are dense. Charts, numbers, and labels compete for attention. When you highlight one specific metric and draw an arrow to the chart that explains it, you cut through the visual noise. Your audience focuses on the right data point instead of scanning the entire screen.
Reviewing a Design
Design reviews over video calls are notoriously difficult without annotation. "I think the button should be bigger" means nothing until you circle the button and draw a rough outline of the size you mean. Simple screen markup turns vague feedback into specific, actionable direction.
Teaching a New Tool
When onboarding someone to a new software tool, the most effective method is showing and marking at the same time. Click the menu, circle it, explain what it does. Click the next step, underline the option. The learner follows a visual path instead of trying to match your words to the interface. The screen drawing app guide covers more tutorial workflows like this.
Why Complicated Software Gets in the Way
There are annotation tools that do a lot. They offer layers, shape libraries, text boxes, recording, cloud sync, and integrations with a dozen platforms. Those features are legitimate for some users.
But for the person who just wants to draw a circle on their screen during a call, all that complexity is a barrier. You do not want to learn a new tool before your 2pm meeting. You want to click one thing and start drawing.
That is the difference between a drawing app and a drawing feature inside a larger product. Penslide is the drawing feature. It does one thing, and it does it quickly. If you need video recording or cloud storage, you will use a different tool for that. If you need to draw on your screen right now, Penslide is ready.
Tips for Effective Screen Drawing
Good annotation is like good writing: less is more. Here are a few habits that make your screen drawings clearer.
- Use one color at a time. If everything is red, the viewer knows that every mark is from the same explanation. Switching colors mid-sentence adds confusion.
- Clear your marks after each point. Stale annotations from a previous topic distract from the current one.
- Keep your strokes deliberate. A single clean circle communicates better than five overlapping scribbles. Slow down your hand slightly and the result looks more professional.
- Use highlighting for text and freehand for shapes. Highlighting works best over paragraphs and labels. Freehand pen works best for circles, arrows, and connectors.
Alternatives to Drawing on Screen in Windows
If you are not ready to use a dedicated tool, there are workaround methods. None of them are as fast as a proper annotation app, but they exist.
You can use the Zoom or Teams annotation feature during a call, but it only works within those apps. You can screenshot your screen, paste it into Paint, draw on it, and share the image, but that takes thirty seconds instead of two. You can use a laser pointer app to highlight areas without drawing, but pointers disappear the moment you stop moving.
Each of these is a partial solution. A dedicated screen drawing tool like Penslide covers all the cases without the tradeoffs. For more alternatives, see the free screen annotation tool comparison.
FAQ
Can I draw on my screen in Windows without installing software?
Yes. Penslide is a portable app that runs without installation. Download the .exe file, open it, and draw. No installer, no admin rights, no setup wizard.
Does screen drawing work during video calls?
It does. Because the annotation layer sits on top of your desktop, everything you draw appears in your screen share. Other participants see your marks in real time during Zoom, Teams, Google Meet, or any other call app.
Can I erase what I draw on my screen?
Yes. Penslide includes an undo function for removing individual strokes and a clear button for wiping all annotations at once. The drawing layer is completely temporary.
Does drawing on screen affect the apps underneath?
No. The drawing happens on a transparent overlay. Your apps, documents, and browser windows are untouched. When you clear the annotations, everything looks exactly as it did before.
Conclusion
Drawing on your screen in Windows should be as easy as picking up a pen. The problem is that Windows does not include a built in tool for live screen annotation, and most third party options come with more complexity than the task requires.
Penslide fills that gap. It is a portable, lightweight app that gives you a transparent drawing layer over your entire desktop. You open it, draw, and close it. That is the entire workflow.
If you spend any part of your day explaining things on a shared screen, this is the kind of tool that pays for itself in the first call, even though it is free.
Get Started
Download Penslide from the download page and try drawing on your screen in your next meeting. Visit the homepage for an overview of all features, or read the desktop annotation software guide for more on choosing a lightweight tool.
Use Penslide with the next screen share
Open Penslide, point to the part of your screen you need, and draw in a way that keeps the audience on the same page. It works with slide decks, browser windows, and shared apps.